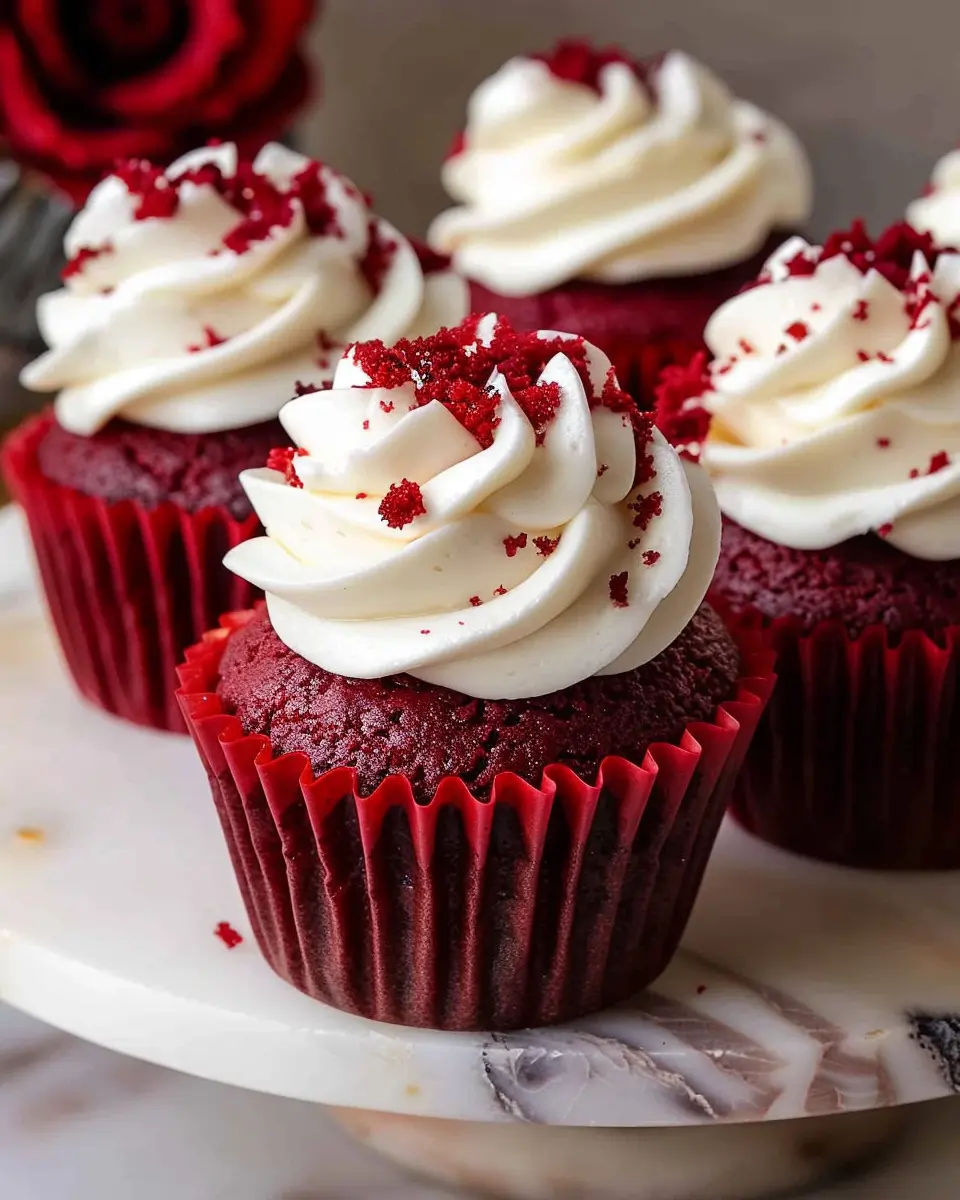
Introduction to Red Velvet Cupcakes
When it comes to sweet treats that steal the spotlight, it’s hard to overlook the charm of red velvet cupcakes. These delightful desserts have captured the hearts of bakers and dessert lovers alike. But what is it about these cupcakes that makes them so irresistible?
Why are red velvet cupcakes so popular?
The popularity of red velvet cupcakes can be attributed to several factors. For starters, their stunning red hue is visually captivating. The vibrant color signals something special, making these cupcakes a popular choice for celebrations and holidays. Have you ever been to a birthday party or festive gathering where these eye-catching treats were absent? Probably not!
Another appealing aspect lies in the unique flavor profile. Red velvet cupcakes offer a delicate chocolate taste with a hint of tanginess thanks to buttermilk or vinegar. This subtle flavor combination sets them apart from standard chocolate or vanilla cupcakes. According to pastry chef and author, Tessa Huff, the balance of sweetness and acidity makes red velvet a perfect pairing for creamy frosting.
Additionally, the texture is another reason why these cupcakes enjoy such a devoted following. With their soft, velvety crumb, red velvet cupcakes practically melt in your mouth. This moistness is often enhanced with the perfect cream cheese frosting, creating a delightful contrast that keeps people coming back for more.
For those curious about the origins of this adorable dessert, head to sources like the Smithsonian Magazine, which dives into the fascinating history of red velvet cake—a history that is as rich as the dessert itself!
One key element that has solidified their place in modern baking culture is the ease of making them at home. With just a few simple ingredients and tools, you can whip up a batch of red velvet cupcakes that’ll impress friends and family. Plus, you can customize them with fun toppings or fillings to suit your taste.
So whether you’re planning a special event or just want to treat yourself, red velvet cupcakes are a delectable option that checks all the boxes—flavor, texture, and sheer visual appeal. Dive into this recipe and start baking your own batch of these beloved treats!
Ingredients for Red Velvet Cupcakes
Essential ingredients for the cupcakes
Baking red velvet cupcakes is like an art form, and you’ll want the best ingredients to create that rich flavor and luscious texture. Here’s what you’ll need:
- All-purpose flour: Helps give the cupcakes structure without making them too dense.
- Granulated sugar: Sweetens up the mixture while keeping it moist.
- Cocoa powder: Just a touch adds depth to that signature flavor.
- Baking soda and baking powder: These leavening agents ensure your cupcakes rise perfectly.
- Vegetable oil: Provides moisture and richness—trust us, it’s key!
- Buttermilk: The acidity brings balance and a tender crumb.
- Eggs: Bind everything together and add richness.
- Red food coloring: The star player that gives red velvet its iconic hue.
- Vanilla extract: Adds a delightful backdrop of flavor.
Key ingredients for the cream cheese frosting
Now, let’s not forget about the frosting! What’s a red velvet cupcake without that luscious cream cheese topping?
- Cream cheese: The base of your frosting, providing that signature tang.
- Unsalted butter: Ensures that your frosting is beautifully creamy and rich.
- Powdered sugar: Sweetens and thickens it to just the right consistency.
- Vanilla extract: Just a dash elevates the flavor profile.
With these simple yet essential ingredients, you’re on your way to baking some of the best red velvet cupcakes that will impress friends and family alike! As you gather your baking essentials, consider exploring more tips on the science of baking over at King Arthur Baking. Happy baking!
Step-by-Step Preparation of Red Velvet Cupcakes
So, you’re ready to whip up a batch of delightful red velvet cupcakes? Fantastic choice! These beautifully rich and moist cupcakes, with their signature red hue, are perfect for celebrations or just a cozy afternoon treat. Let’s dive into the detailed steps to prepare these scrumptious bites!
Gather Your Ingredients
Before you even think about mixing anything, take a moment to gather your ingredients. Here’s what you’ll need:
- 2 ½ cups all-purpose flour
- 1 ½ cups granulated sugar
- 1 teaspoon baking soda
- 1 teaspoon salt
- 1 teaspoon cocoa powder
- 1 cup vegetable oil
- 1 cup buttermilk, room temperature
- 2 large eggs
- 2 tablespoons red food coloring
- 1 teaspoon vanilla extract
- 1 teaspoon white vinegar
By getting everything prepped beforehand, you’ll streamline the process and avoid any last-minute trips to the store.
Preheat the Oven and Prepare the Cupcake Pan
Now that your ingredients are waiting, it’s time to turn on your oven. Preheat it to 350°F (175°C). While that’s warming up:
- Line a 12-cup muffin pan with cupcake liners.
- This not only makes your cleanup easier, but it also adds a fun pop of color to your red velvet cupcakes.
Mix the Dry Ingredients
In a large mixing bowl, combine the dry ingredients. This will include:
- 2 ½ cups all-purpose flour
- 1 ½ cups granulated sugar
- 1 teaspoon baking soda
- 1 teaspoon salt
- 1 teaspoon cocoa powder
Whisk them together until thoroughly combined. This step helps to ensure an even distribution of ingredients throughout your batter.
Cream Together the Butter and Sugar
In another bowl, with a hand mixer or a stand mixer, cream together:
- 1 cup vegetable oil
- The sugar mixture you just made
Beat these together until you achieve a light and fluffy texture. This process is essential for making your red velvet cupcakes tender and delicious.
Incorporate Eggs and Vanilla
Next, add in the two large eggs and squeeze in 1 teaspoon of vanilla extract. Mix until just combined. Did you know that incorporating eggs one at a time allows for better emulsification? This is a great tip for creating a smooth batter.
Alternate Adding Dry Ingredients and Buttermilk
Gradually add the dry ingredient mixture to the wet ingredients, alternating with 1 cup of buttermilk. Begin and end with the dry ingredients. This means you’ll incorporate the dry ingredients in three parts and the buttermilk in two. It helps keep the mixture smooth and avoids over-mixing.
Add the Red Food Coloring and Fill Liners
Now comes the fun part! Add 2 tablespoons of red food coloring to your batter and mix until the color is well incorporated. It should be a vibrant shade of red. Next:
- Use a scoop or a spoon to fill each cupcake liner about 2/3 full with the batter.
Bake and Cool the Cupcakes
Pop the pan into your preheated oven and bake for 20-22 minutes. A toothpick inserted into the center should come out clean. Once done, allow them to cool in the pan for about 10 minutes before transferring them to a wire rack to cool completely.
Prepare the Cream Cheese Frosting
While the cupcakes cool, let’s make some delicious cream cheese frosting. You’ll need:
- 1 (8-ounce) package of cream cheese, softened
- ½ cup butter, softened
- 4 cups powdered sugar
- 1 teaspoon vanilla extract
In a mixing bowl, beat the cream cheese and butter together until smooth. Gradually add the powdered sugar and vanilla, mixing until light and fluffy. This rich frosting is a perfect companion to your red velvet cupcakes.
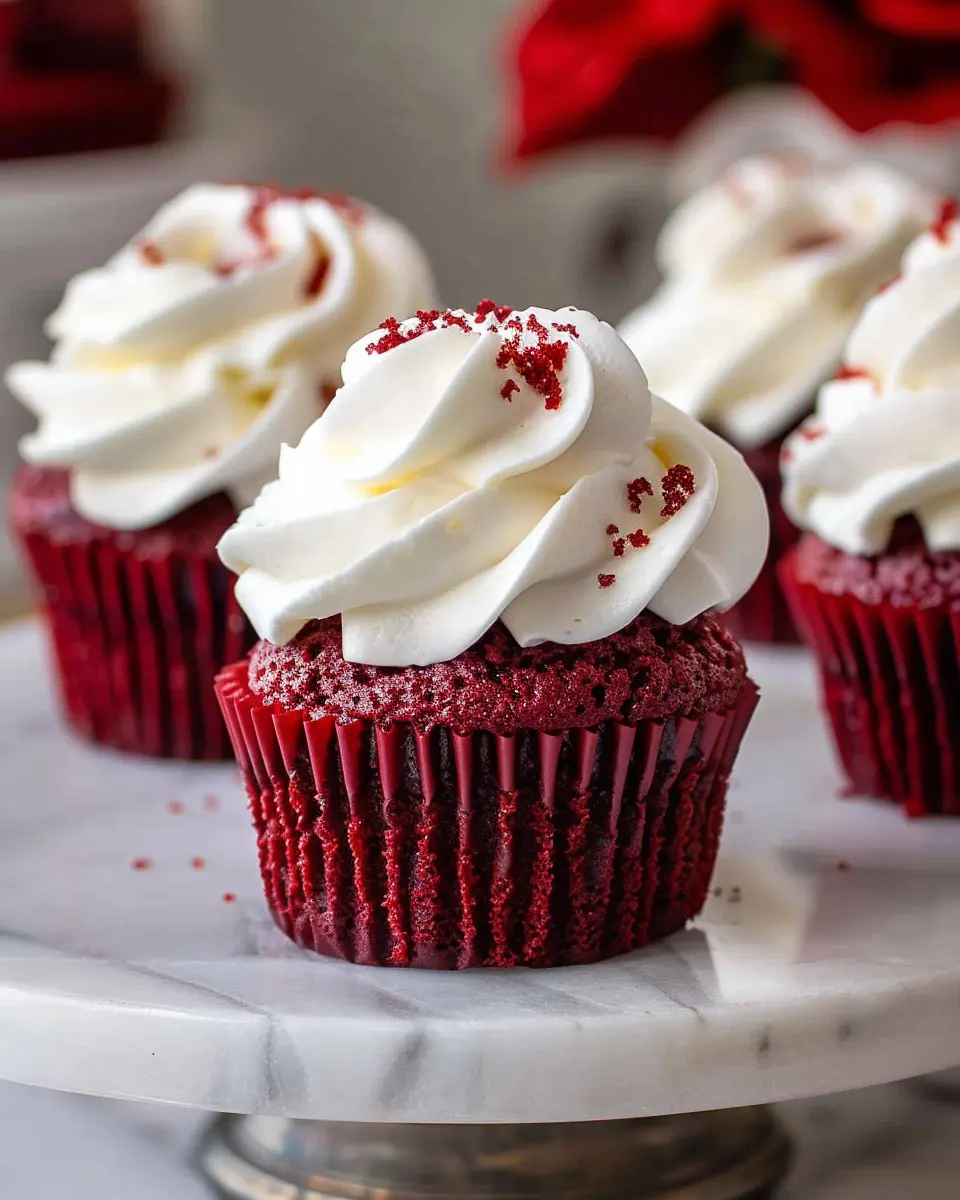
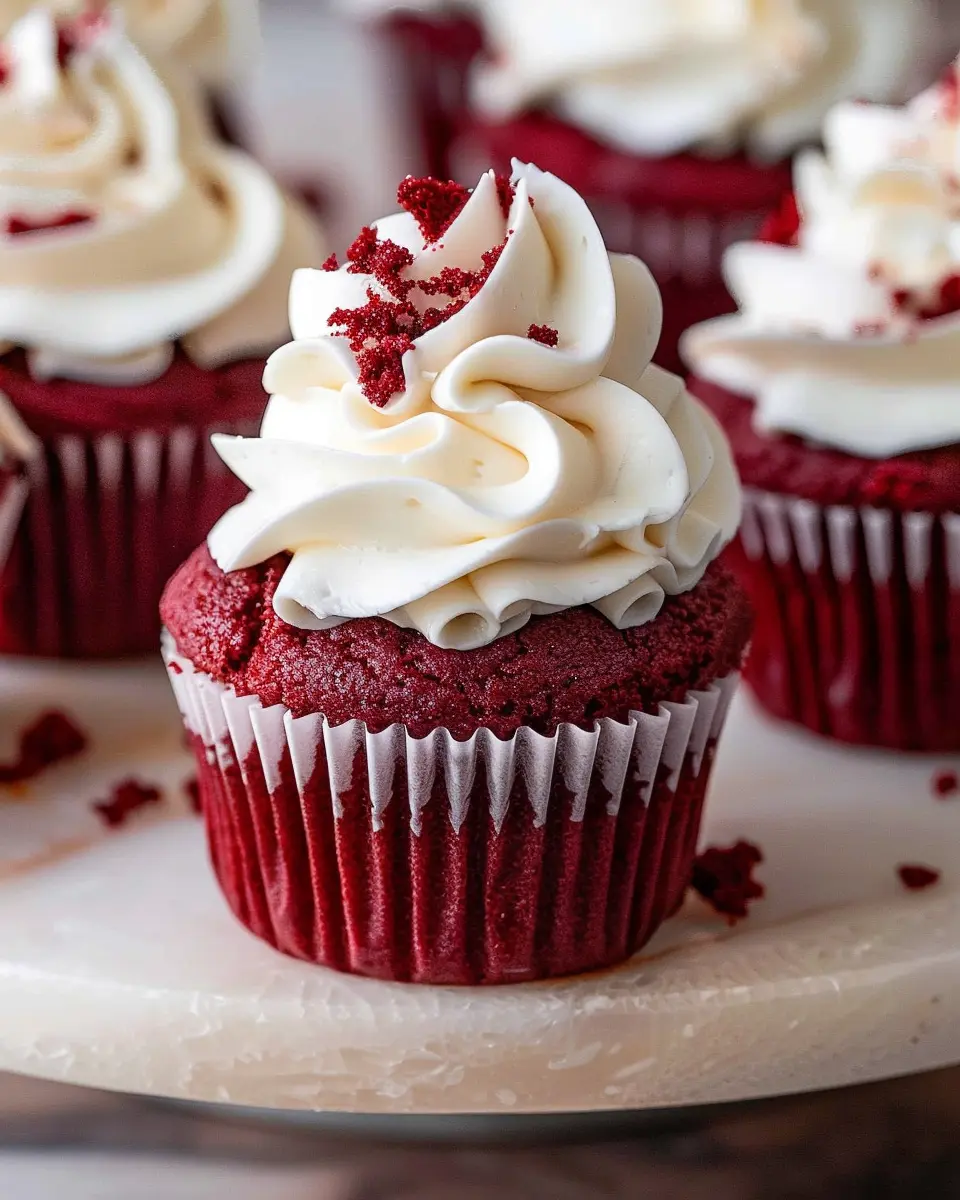
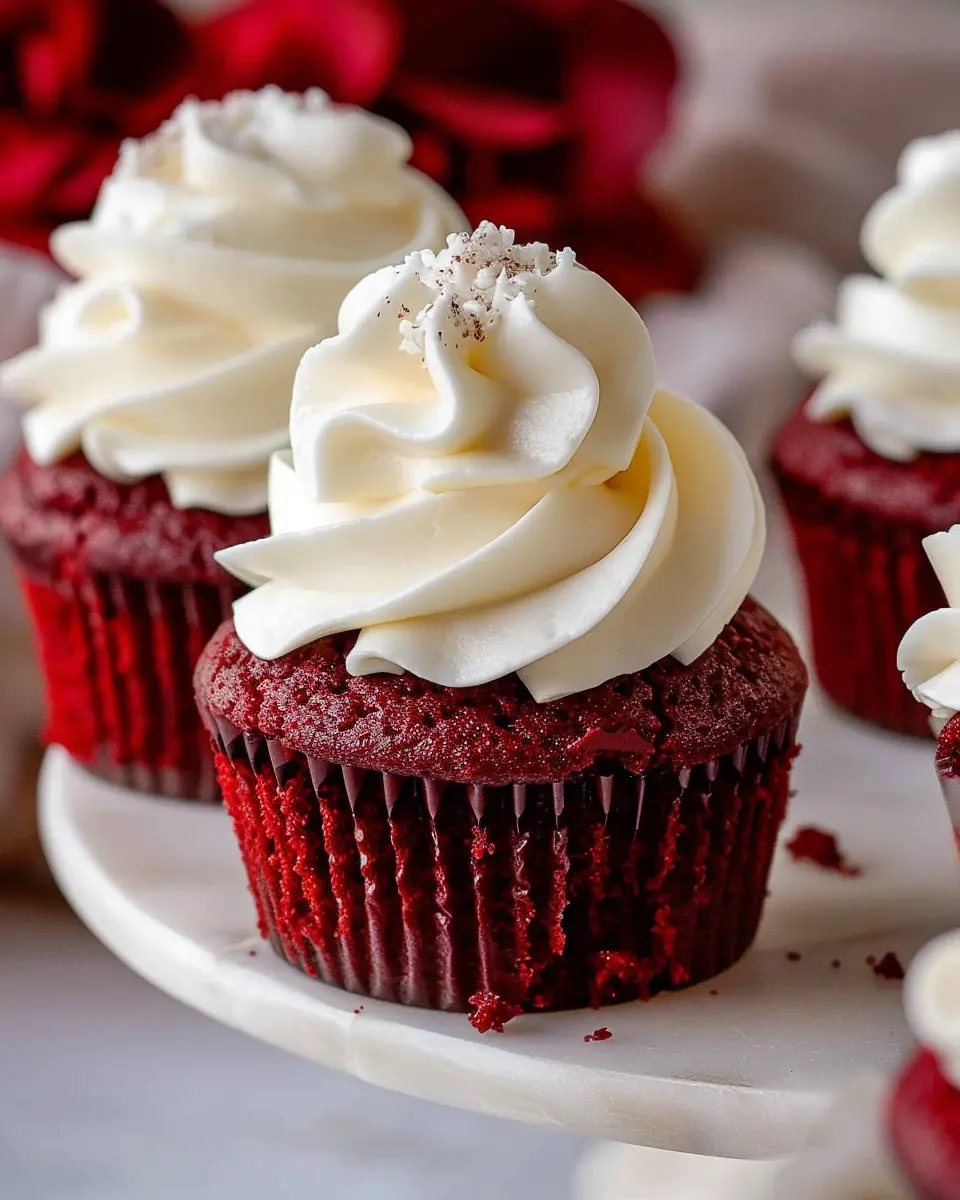
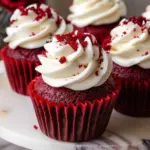
Frost and Decorate the Cupcakes
Once your cupcakes are completely cooled, it’s time to frost them! Use a piping bag or a simple spatula to spread the cream cheese frosting generously on top of each cupcake. To elevate your creations, consider adding sprinkles or edible glitter for a touch of glamour.
And there you go! You’ve just made delicious red velvet cupcakes that are sure to impress. Perfect for sharing (or keeping all to yourself). Enjoy!
Variations on Red Velvet Cupcakes
Red velvet cupcakes are a classic treat, but why not explore some exciting variations to delight your taste buds? Whether you’re catering to dietary needs or just looking for something a little different, here are some delicious alternatives.
Chocolate Red Velvet Cupcakes
Craving something even more indulgent? Chocolate red velvet cupcakes add extra cocoa powder to the classic recipe, intensifying its rich, chocolaty flavor. Just swap in 1-2 tablespoons of unsweetened cocoa powder for a deeper taste. Be sure to use quality ingredients to keep that signature velvety texture. For an extra special touch, you can fill these cupcakes with cream cheese frosting before frosting the tops.
Vegan Red Velvet Cupcakes
For those following a plant-based lifestyle, vegan red velvet cupcakes can be equally scrumptious! Simply replace eggs with flaxseed meal mixed with water or use unsweetened applesauce. Swap dairy milk for almond or oat milk, and ensure your food coloring is vegan-friendly. Using a recipe from a trusted source like Minimalist Baker will guarantee results that impress everyone, including non-vegans.
Gluten-Free Red Velvet Cupcakes
If gluten is a concern, you’re in luck—gluten-free red velvet cupcakes can be just as moist and delicious. Using a blend of gluten-free all-purpose flour will give you the right texture without sacrificing taste. Always check for certified gluten-free ingredients to keep your baking safe. Serve with coconut cream frosting for a delightful twist!
Exploring these variations not only keeps things interesting but also allows you to share the joy of red velvet cupcakes with everyone in your life. Happy baking! For more ideas, check out the insights from King Arthur Baking.
Baking Notes for Red Velvet Cupcakes
Tips for Achieving the Perfect Texture
When whipping up red velvet cupcakes, texture is everything! For an ultra-moist and tender crumb, ensure your ingredients are at room temperature before mixing. This lets the batter blend more seamlessly and helps create that delightful, melt-in-your-mouth feel. Additionally, it’s crucial to avoid over-mixing; combine your ingredients until just incorporated. Over-mixing can lead to dense cupcakes, and we definitely want a light, airy result.
Storage Recommendations for Leftovers
If you happen to have leftover red velvet cupcakes (though we doubt it!), store them in an airtight container at room temperature for up to three days. For longer storage, refrigerate them for up to a week. Just make sure to wrap them well! If you’re feeling generous, you can even freeze these beauties. Simply place them in a freezer-safe container, separating layers with parchment paper, and they’ll last for about three months. When you’re ready to enjoy them again, just thaw overnight in the fridge and bring to room temperature before serving.
For more tips on baking cupcakes, check out these expert recommendations. Happy baking!
Serving Suggestions for Red Velvet Cupcakes
Perfect Pairings with Beverages
When indulging in red velvet cupcakes, the right drink can elevate your experience. Consider pairing them with a rich cup of coffee or a smooth latte; the bitterness beautifully contrasts the sweet, creamy frosting. For a lighter option, a refreshing glass of iced tea, whether sweetened or not, complements the cupcake’s unique flavor profile. If you’re in the mood for something fruity, a citrus-infused lemonade adds a zing that can brighten up the palate.
Occasion Ideas for Serving Red Velvet Cupcakes
Red velvet cupcakes are not just a treat; they can be the star of any event. Here are a few ideas to inspire your next gathering:
- Birthdays: Customize the frosting or add sprinkles for a festive touch.
- Bridal showers: Match the color scheme of the event with beautifully decorated cupcakes.
- Holiday celebrations: Serve them as a special end-of-year dessert, providing a touch of elegance.
Whether you’re hosting or simply sharing with friends, these suggestions can make any moment feel special. For more inspiration, check out this guide on event planning that provides further ideas on making your gatherings memorable.
Tips for Making Perfect Red Velvet Cupcakes
How to Avoid Common Baking Mistakes
Baking red velvet cupcakes can be a breeze if you steer clear of a few common pitfalls. First, ensure that all your ingredients are at room temperature. Cold butter or eggs can lead to uneven mixing, resulting in cupcakes that are dense instead of fluffy. Another tip? Be sure to measure your flour accurately—using a kitchen scale can help! Also, don’t skip the step of sifting the dry ingredients, as this aerates the flour and helps achieve a light texture.
Using the Right Tools for Best Results
Investing in the right tools pays off when you’re baking these delightful red velvet cupcakes. A good quality stand mixer not only makes whipping up the batter easier but also ensures consistent mixing. Use a cupcake scoop for even distribution—this helps your cupcakes rise evenly and look more professional. Lastly, opt for silicone or paper liners to prevent sticking. These simple tools can elevate your baking game significantly.
By following these tips, you’ll be well on your way to creating the most delicious and visually stunning red velvet cupcakes! For more in-depth baking advice, check out reputable resources like King Arthur Baking or Serious Eats. Happy baking!
Time Breakdown for Red Velvet Cupcakes
Preparation Time
Getting ready to bake these delectable red velvet cupcakes only takes about 15 to 20 minutes. Gather your ingredients, preheat your oven, and mix your batter. It’s like setting the stage for a delightful performance!
Baking Time
Now comes the fun part! Your cupcakes will bake in about 18 to 20 minutes, filling your kitchen with a sweet aroma that’s simply irresistible. Make sure to check for doneness with a toothpick; it should come out clean.
Total Time
In just under an hour, you’ll have a batch of moist, vibrant red velvet cupcakes at the ready. Add a cream cheese frosting, and you’ve got a showstopper worthy of any celebration! For more tips on baking times and techniques, you can check out resources like Food Network and Epicurious. Happy baking!
Nutritional Information for Red Velvet Cupcakes
When indulging in delightful red velvet cupcakes, understanding their nutritional profile can help you enjoy them guilt-free. Here’s a quick breakdown:
Calories per cupcake
On average, one standard red velvet cupcake contains about 300-350 calories. This number can vary depending on the specific ingredients and portion sizes.
Sugar content
You’ll find approximately 20-25 grams of sugar in each cupcake. While this creates that luscious sweetness we all love, it’s wise to enjoy them in moderation.
Key nutrients
These red velvet cupcakes also provide some essential nutrients, including:
- Iron: Important for blood production.
- Calcium: Supports bone health, especially when paired with cream cheese frosting.
- Vitamin A: Particularly from the cocoa and the red dye that’s often derived from beets.
For detailed insights, consider exploring resources like the USDA FoodData Central for more information. Balancing your diet while treating yourself is the key to enjoying these festive delights!
FAQs about Red Velvet Cupcakes
Can I make red velvet cupcakes ahead of time?
Absolutely! Making red velvet cupcakes in advance is a great way to save time. You can bake the cupcakes a day or two ahead and store them in an airtight container at room temperature. Just wait to frost them until you’re ready to serve! If you need a longer storage option, consider freezing the unfrosted cupcakes. Wrap each cupcake tightly in plastic wrap and place them in a freezer-safe bag. They can last for up to three months in the freezer.
What can I use instead of buttermilk?
If you don’t have buttermilk on hand, don’t worry—you can easily make a quick substitute at home! Simply mix 1 cup of milk with 1 tablespoon of white vinegar or lemon juice. Let it sit for about 5–10 minutes, and you’ll have an instant buttermilk replacement. This will help you achieve that tender crumb in your red velvet cupcakes.
How do I store leftover cream cheese frosting?
Leftover cream cheese frosting can be a delightful treat, especially for those spontaneous midnight snacks! Store it in an airtight container in the refrigerator for up to one week. If you want to keep it longer, freeze it for up to three months. Just remember to let it thaw in the fridge overnight before using it again. For more on frosting storage tips, check out resources like the USDA’s food safety tips.
By addressing these common questions, you can enhance your baking experience and ensure your red velvet cupcakes turn out delicious and made ahead of time! If you have more questions, feel free to leave a comment or check out expert baking sites like King Arthur Baking. Happy baking!
Conclusion on Red Velvet Cupcakes
Why You Should Try Making Red Velvet Cupcakes at Home
Making red velvet cupcakes at home isn’t just about following a recipe; it’s an experience that invites creativity and a touch of elegance into your kitchen. Imagine enjoying the vibrant color and unique flavor firsthand, complete with the velvety texture that makes these treats special.
By baking your own, you can customize the ingredients to suit your taste—think rich cream cheese frosting or a lighter alternative. Plus, baking can be a wonderful way to unwind after a hectic day. Share them with friends or save them for a cozy night in with a good movie, and you’ll see why they’re a favorite!
For more baking tips, check out Joy of Baking or King Arthur Baking, where you’ll find a wealth of information to enhance your baking adventures!
PrintRed Velvet Cupcakes: Easy Indulgence for Any Occasion
Delve into the rich and vibrant world of Red Velvet Cupcakes with this easy recipe that is perfect for any occasion.
- Prep Time: 15 minutes
- Cook Time: 20 minutes
- Total Time: 35 minutes
- Yield: 12 cupcakes 1x
- Category: Dessert
- Method: Baking
- Cuisine: American
- Diet: Vegetarian
Ingredients
- 1 ½ cups all-purpose flour
- 1 cup granulated sugar
- 1 cup vegetable oil
- 1 teaspoon baking soda
- ½ teaspoon salt
- 1 teaspoon vanilla extract
- 1 teaspoon cocoa powder
- 1 cup buttermilk
- 2 large eggs
- 2 tablespoons red food coloring
Instructions
- Preheat your oven to 350°F (175°C) and line a muffin tin with cupcake liners.
- In a large bowl, sift together the flour, cocoa powder, baking soda, and salt.
- In another bowl, mix the sugar, oil, eggs, and buttermilk until well combined.
- Gradually add the dry ingredients to the wet ingredients, mixing gently.
- Stir in the red food coloring and vanilla extract until evenly distributed.
- Pour the batter into the cupcake liners, filling them about 2/3 full.
- Bake for 18-20 minutes or until a toothpick inserted in the center comes out clean.
- Let the cupcakes cool completely before frosting.
Notes
- For an extra indulgent treat, top with cream cheese frosting.
- These cupcakes can be decorated for various occasions.
Nutrition
- Serving Size: 1 cupcake
- Calories: 250
- Sugar: 18g
- Sodium: 200mg
- Fat: 12g
- Saturated Fat: 2g
- Unsaturated Fat: 10g
- Trans Fat: 0g
- Carbohydrates: 34g
- Fiber: 1g
- Protein: 3g
- Cholesterol: 30mg
Keywords: Red Velvet Cupcakes