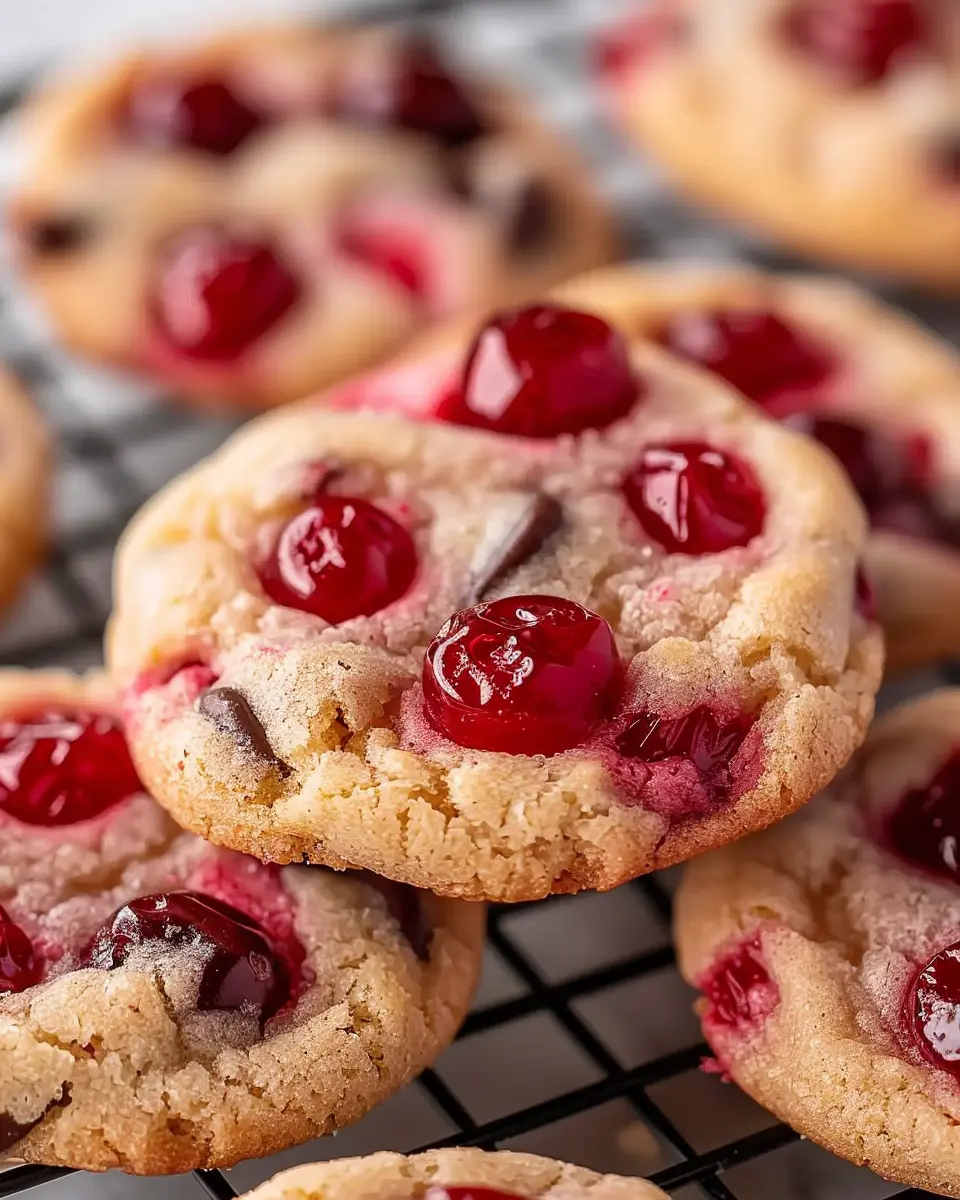
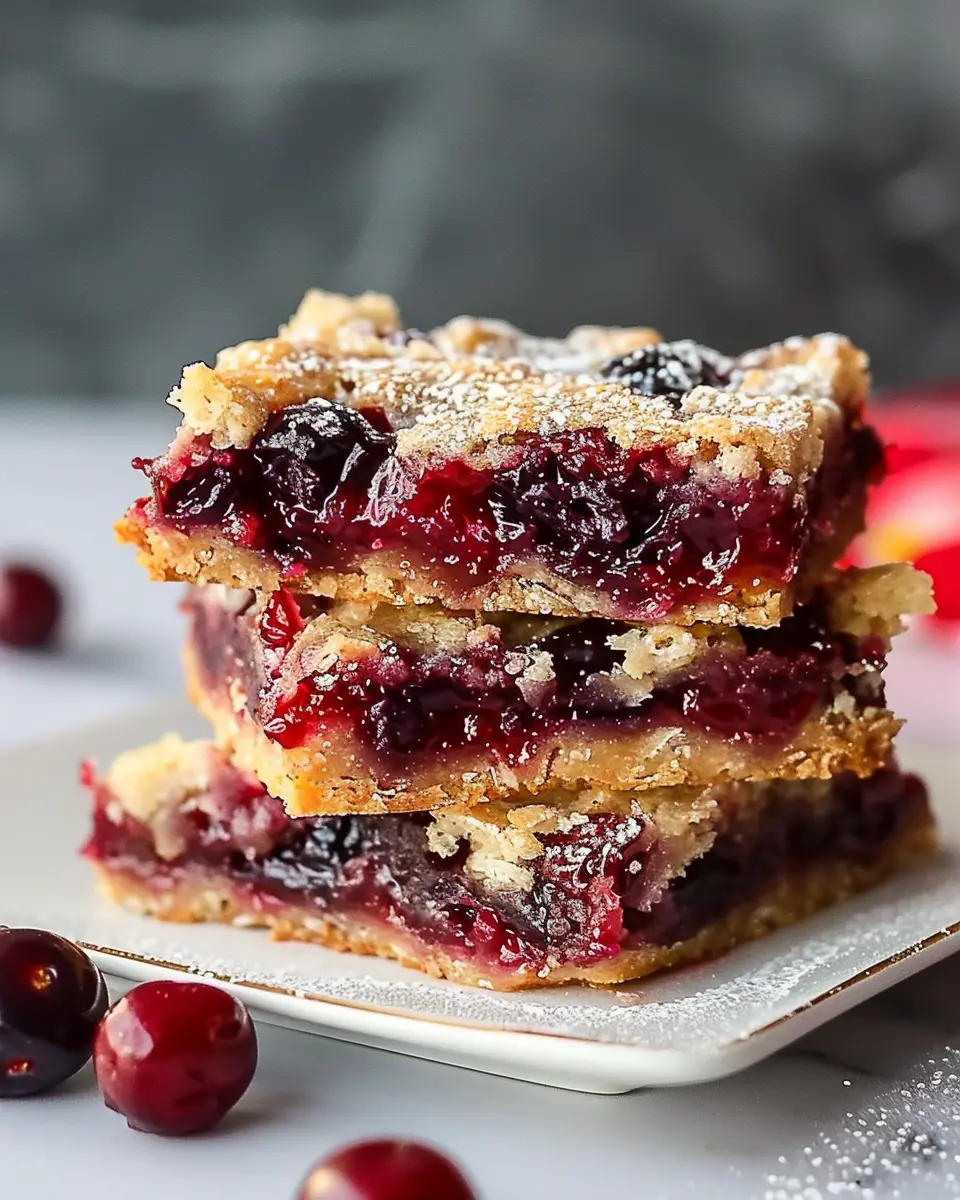
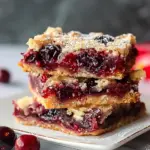
Introduction to Easy Cherry Bars
If you’ve been on the lookout for a delightful homemade dessert that brings comfort and joy, then easy cherry bars might just be your new go-to treat. These bars are not only a fantastic way to satisfy your sweet tooth, but they also make for a stunning centerpiece at any gathering. Imagine serving these vibrant, fruity squares to your friends at a weekend brunch or as an after-dinner treat—they’re bound to impress!
Why exactly are easy cherry bars such a perfect choice? For starters, they are incredibly simple to whip up, making them ideal for both novice bakers and busy young professionals. With just a handful of ingredients—think fresh or canned cherries, flour, sugar, and some buttery goodness—you can create an irresistible dessert that will leave everyone asking for seconds. Plus, the versatility of this recipe allows you to customize it. Prefer tart cherries? Go for it! Want to add a zesty twist? A hint of lemon can elevate the flavor beautifully.
Aside from their delicious taste, there’s also something wonderfully nostalgic about cherry desserts. For many, the scent of baking cherry bars evokes warm memories of family gatherings and summer picnics. According to a study from the Food Institute, desserts featuring fruit have grown in popularity, with consumers increasingly seeking sweet options that incorporate fresh ingredients. This trend is perfect for those looking to indulge without feeling guilty!
So why not embrace this delightful dessert trend and bake up a batch of easy cherry bars? Imagine the excitement when your friends or family take their first bites! These treats are not just sweets—they’re a way to share memories, create new traditions, and enjoy life’s simpler pleasures. You can find a full recipe right here or check out more cherry-inspired treats over at Taste of Home for even more inspiration. Let’s bring some sweetness into your kitchen!
Ingredients for Easy Cherry Bars
When it comes to whipping up a delightful dessert, easy cherry bars are a top contender! Let’s gather the ingredients you’ll need to create these sweet, fruity treats.
List of Ingredients Needed
- Fresh or canned cherries: About 2 cups. If using canned, make sure to drain them well for the best texture.
- Unsalted butter: ½ cup, softened. This adds a rich flavor to your crust.
- Granulated sugar: 1 cup, for that perfect touch of sweetness.
- All-purpose flour: 1 cup, which will serve as the foundation of your crust.
- Baking powder: 1 teaspoon, to help those bars rise slightly.
- Egg: 1 large, to bind everything together.
- Vanilla extract: 1 teaspoon, adding warmth and depth.
- Salt: A pinch, to balance the flavors.
These ingredients align perfectly to create a treat that balances sweetness and tartness effortlessly! Ready to dive deeper? Check out this guide on baking essentials for more tips on enhancing your baking skills.
Making these cherry bars will not only satisfy your sweet tooth but also keep everyone asking for more!
Preparing Easy Cherry Bars
Baking is one of those delightful activities that blends creativity with a sweet reward at the end. If you’re looking to impress your friends and family with a comforting dessert, easy cherry bars are the perfect option! This step-by-step guide will ensure you come away with a deliciously fruity treat that’s both simple to make and satisfying to eat. Let’s roll up our sleeves and dive into the cheerful world of baking!
Prepping the Oven and Baking Pan
Before mixing your ingredients, it’s essential to get your kitchen ready. Here’s how to set the stage for your easy cherry bars:
- Preheat your oven: Set it to 350°F (175°C) to ensure even baking once you’re ready to pop your bars in.
- Prepare your baking pan: Grab an 8×8-inch square baking pan or a similar size. Lightly grease it with butter or line it with parchment paper to make removing your bars a breeze later.
Did you know that preheating your oven properly can lead to more consistent baking? According to experts, neglecting this step might lead to unevenly baked goods, so don’t skip it!
Creaming the Butter and Sugar
Next up, let’s talk about the heart of your easy cherry bars: the batter! Begin by creaming the butter and sugar for a light and fluffy texture.
- Gather your ingredients: You’ll need half a cup of softened butter (1 stick) and one cup of granulated sugar.
- Cream them together: Use a hand mixer or stand mixer on medium speed. Mix until the mixture becomes pale and fluffy—this usually takes about 2-3 minutes.
This step is crucial because it introduces air, allowing your bars to rise beautifully. Trust me, once you bite into that light texture paired with the cherry filling, you’ll agree it’s worth the effort!
Combining Dry Ingredients
Now it’s time to incorporate your dry ingredients. This is where the magic really begins:
- Measure and mix: In a separate bowl, combine 1 ½ cups of all-purpose flour, 1 teaspoon of baking powder, and a pinch of salt. Whisk these ingredients until well blended—a quick mix helps ensure even distribution of your leavening agent.
After mixing, gently fold the dry ingredients into your butter and sugar mixture. Be careful not to overmix, as this can lead to dense bars. A few lumps are okay!
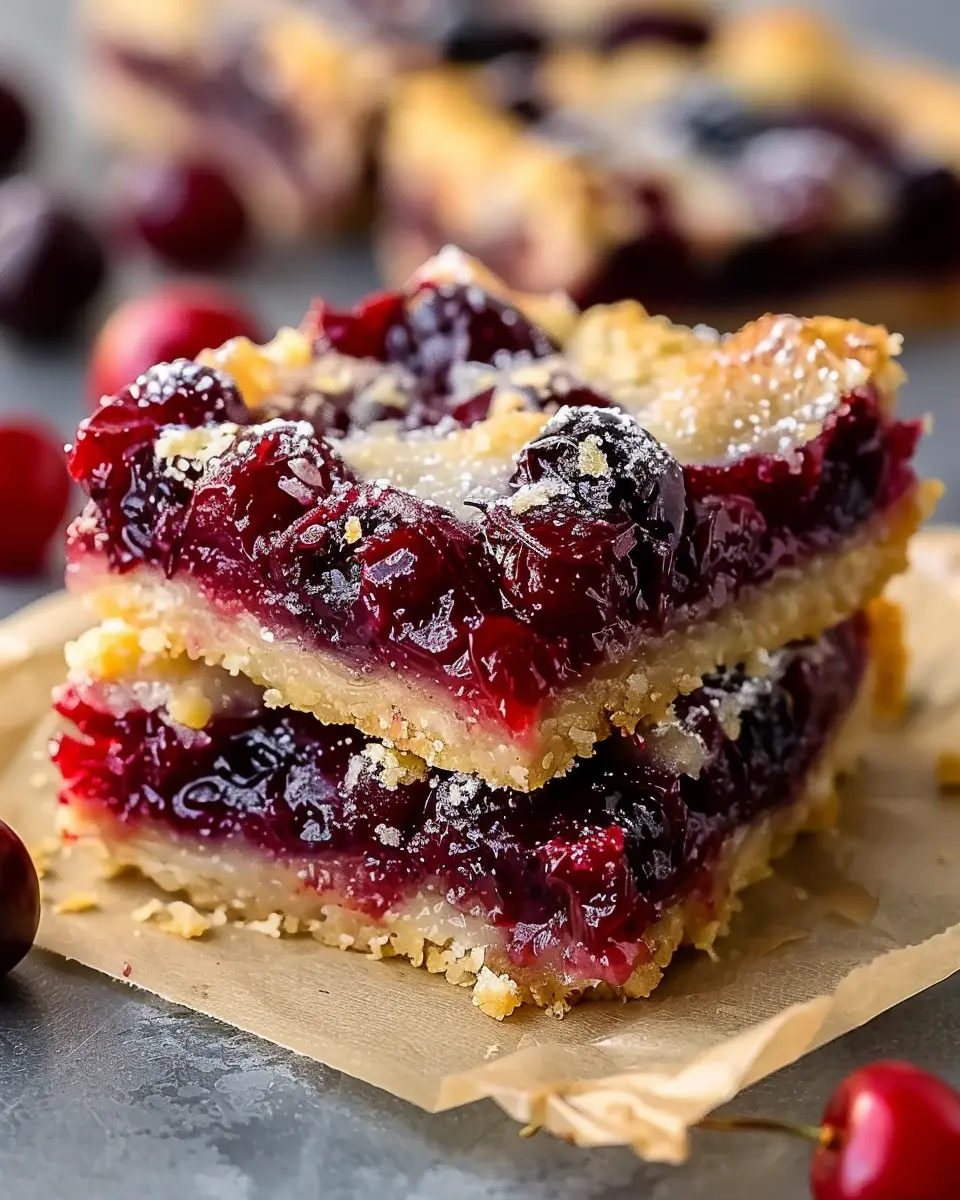
Layering the Batter and Cherry Filling
The beauty of easy cherry bars lies in creating a balance between the dough and that tangy cherry filling; so herein comes the layering:
- Divide your batter: Take about two-thirds of your batter and spread it evenly into the bottom of your prepared baking pan.
- Add the cherry filling: You can use store-bought pie filling or homemade cherries cooked down with sugar. Spread your cherry filling across the batter.
- Top it off: Crumble the remaining batter on top of the cherries. This layer doesn’t need to cover completely; a little peek of cherries is welcome!
Pro tip: For a little extra flair, sprinkle some oats or chopped nuts on top before baking for added texture.
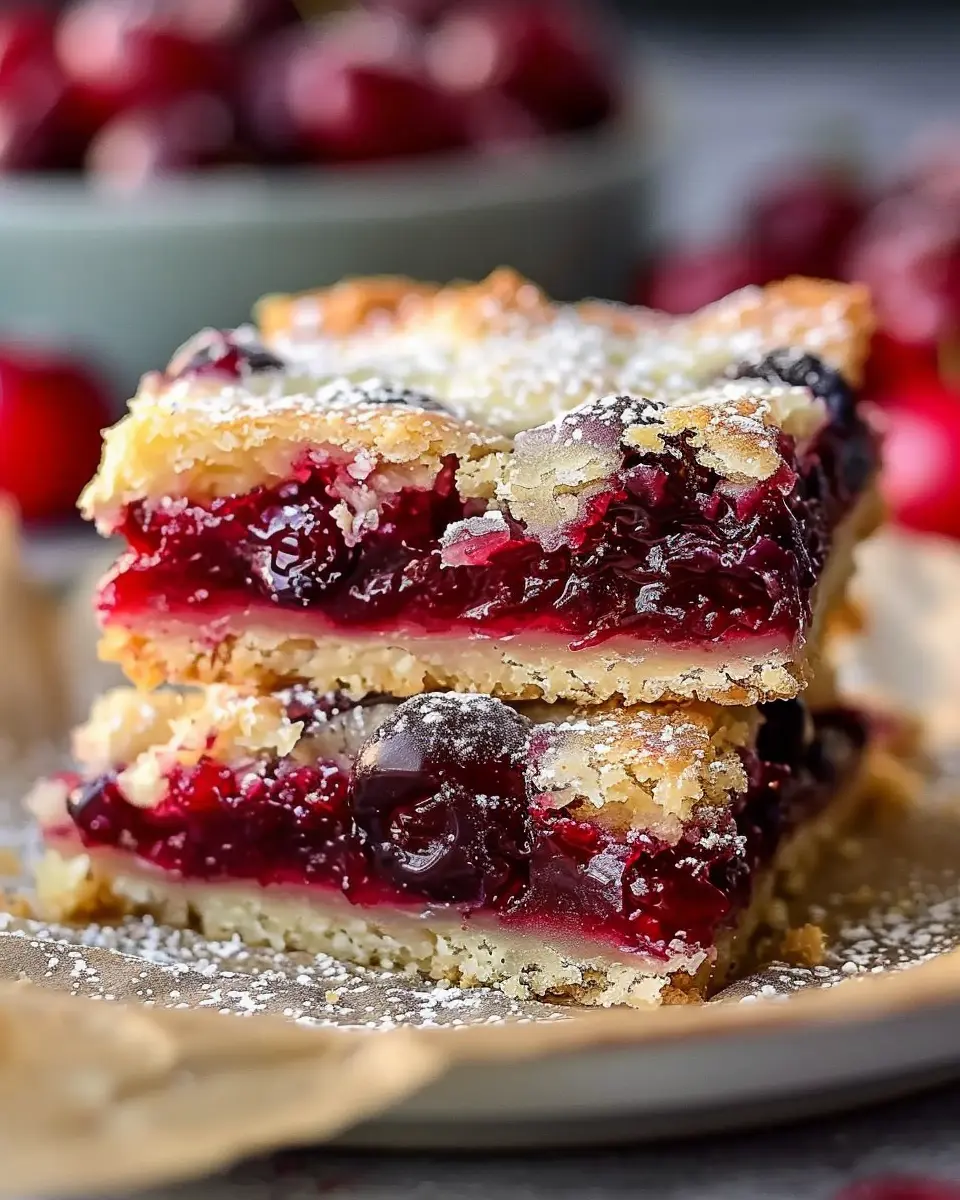
Baking to Perfection
Finally, it’s time to bake! Slide your pan into the preheated oven and set your timer for 25–30 minutes.
- Check for doneness: Your easy cherry bars are ready when the edges are lightly browned, and a toothpick inserted in the center comes out clean. The slight jiggle of the center is perfectly fine as long as it doesn’t seem liquid.
Once out of the oven, allow the bars to cool in the pan for about 15 minutes before transferring them to a wire rack. This cooling time lets the flavors meld and ensures clean cuts when you slice them later.
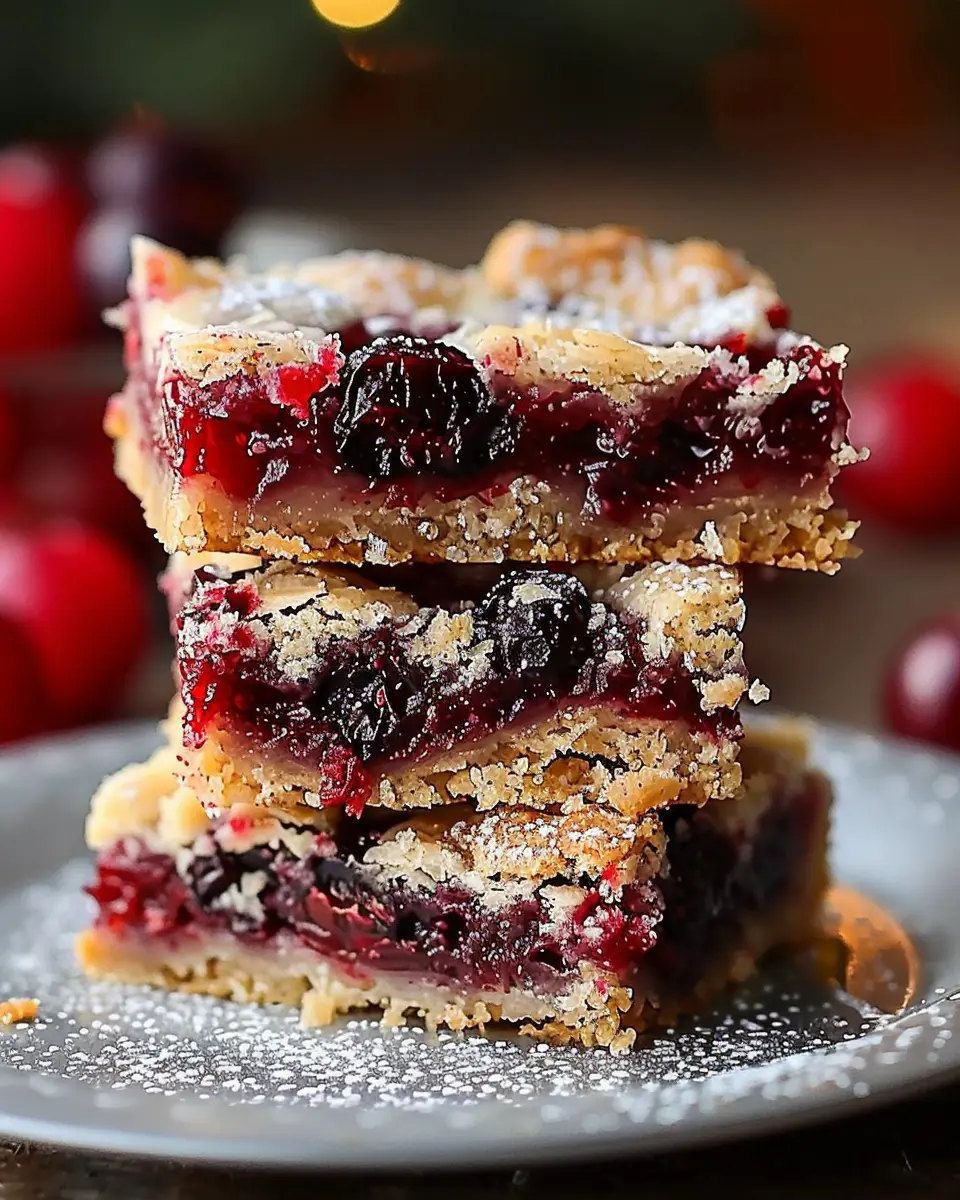
And there you have it! In just a few simple steps, you’ve prepared delicious easy cherry bars that are sure to impress. Serve them warm, with a scoop of vanilla ice cream, or enjoy them cold with a strong cup of coffee. Happy baking!
Variations on Easy Cherry Bars
Cherry Almond Bars
If you’re looking to add a twist to your easy cherry bars, consider incorporating almond flavors for an irresistible combination. Start by mixing almond extract into your batter, enhancing the cherry filling’s sweetness. For an additional crunch, toss in some slivered almonds. They not only elevate the texture but also add a delightful nutty flavor that pairs wonderfully with cherries. This variation is perfect for those who enjoy a bit of flair in their desserts!
You might even want to drizzle a simple almond glaze on top—just mix powdered sugar with a splash of almond extract and warm milk for a delicious finish.
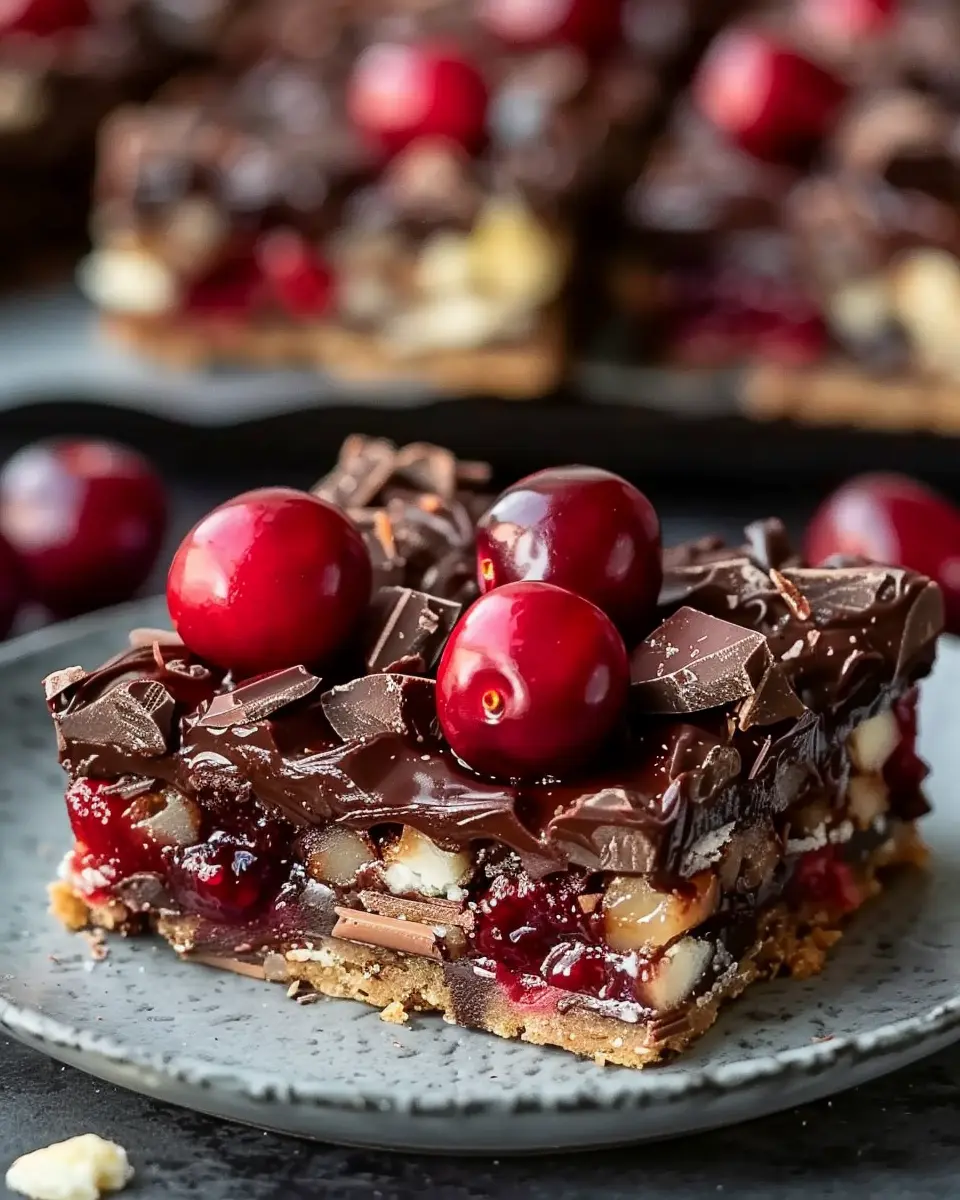
Chocolate Cherry Bars
For the chocolate lovers, why not merge dark chocolate with your easy cherry bars? Just imagine biting into a rich, chocolatey base topped with the sweet tartness of cherries. You can either fold cocoa powder into your batter for a chocolatey twist or layer chocolate chips directly on the cherry filling before baking.
If you really want to take these bars over the top, consider melting some chocolate to drizzle on top once they cool. A sprinkle of sea salt right before the chocolate hardens can create a perfect balance of sweet and salty.
These variations can be an exciting way to bring new life to a classic recipe. So next time you’re ready to whip up a batch, remember these creative ideas to impress your friends and family! For more cherry-based inspirations, check out Nutritional Benefits of Cherries and elevate your dessert game!
Cooking Tips and Notes for Easy Cherry Bars
When whipping up these easy cherry bars, a few common mistakes can trip you up, so here’s some friendly advice to keep in mind.
Common Mistakes to Avoid
-
Choosing the Wrong Cherries: Fresh cherries are fantastic, but canned or frozen cherries can also work nicely. Just make sure they’re well-drained to prevent a soggy crust. Check out this guide on choosing the right cherries for more tips.
-
Overmixing the Batter: It’s tempting to get everything blended perfectly, but overmixing can lead to tough bars instead of the tender ones you crave. Mix until the ingredients are just combined.
-
Skipping the Cooling Time: It’s hard to resist a warm cherry bar, but letting them cool completely helps them set properly. A slice that holds together is always more satisfying!
-
Not Prepping Your Pan: Don’t forget to line or grease your baking pan! This will make for easier removal and cleanup.
By steering clear of these pitfalls, you’ll find that making easy cherry bars can be both fun and rewarding. Happy baking!
Serving Suggestions for Easy Cherry Bars
Perfect Pairings for Your Cherry Bars
When it comes to easy cherry bars, the joy of serving them is just as sweet as indulging in their deliciousness. Here are some delightful pairings that will elevate your dessert experience:
- Fresh Whipped Cream: A dollop of freshly whipped cream can add a light and airy contrast to the fruity richness of cherry bars. Try adding a hint of vanilla for an extra treat!
- Chocolate Drizzle: For the chocolate lovers out there, drizzling a bit of melted dark chocolate over your bars can bring a sophisticated touch. Just melt some chocolate and lightly pour it over the top for a gourmet finish.
- Ice Cream: Pair your cherry bars with a scoop of vanilla ice cream or a refreshing strawberry sorbet. This combination presents a delightful balance of temperatures and flavors.
- Coffee or Tea: A warm cup of coffee or herbal tea makes for a comforting drink choice alongside your easy cherry bars. Consider serving chai tea for a spicy kick or cold brew coffee for a refreshing lift.
Next time you’re baking, keep these suggestions in mind—they’re sure to make your dessert moment even more enjoyable! For more tips on serving desserts, check out this helpful guide.
Time Breakdown for Easy Cherry Bars
Preparation Time
Making easy cherry bars is a breeze! You’ll need about 15 minutes to gather your ingredients and prepare the batter. It’s the perfect time to sip on some refreshing iced tea or catch up on your favorite podcast. Gathering the essentials like cherry filling, butter, and flour will set you up for success.
Baking Time
Once you pop your easy cherry bars into the oven, they’ll need about 25-30 minutes to bake. The sweet aroma of cherries and butter will fill your kitchen, making it hard to resist sneaking a peek! Just remember, every oven is a little different, so check for that golden-brown finish.
Total Time
In total, you’re looking at around 45 minutes from start to finish. This time investment yields delicious results that are sure to impress friends and family at your next gathering. So, why wait? Your cherry bars are just a short baking session away! For more tips on quick desserts, check out BBC Good Food.
Nutritional Facts for Easy Cherry Bars
When you’re craving a delicious treat, it’s helpful to know what you’re indulging in. Let’s break down the nutritional facts for easy cherry bars so you can enjoy them guilt-free.
Calories
Each serving of these delightful bars contains around 150 calories. Depending on your dietary goals, this makes them a fantastic option for a sweet snack without going overboard.
Sugar Content
With about 10 grams of sugar per serving, these bars strike a balance between sweetness and flavor. If you’re mindful of your sugar intake, you can always opt for a sugar substitute to make them even healthier.
Dietary Concerns
These easy cherry bars are great for a variety of diets. While they do contain gluten due to the flour, you can easily switch to a gluten-free alternative. They are also nut-free and can be adapted for dairy-free options by swapping out butter for coconut oil or a non-dairy spread.
For more tasty recipes that cater to various dietary needs, check out Healthline’s guide to dessert alternatives. It’s always crucial to know how your favorite foods can fit into your lifestyle!
Happy baking!
FAQs about Easy Cherry Bars
Can I use fresh cherries instead of pie filling?
Absolutely! While our easy cherry bars recipe calls for cherry pie filling for simplicity, using fresh cherries can elevate your dessert. Just make sure to pit and chop them first, and consider adding a bit of sugar to enhance their natural sweetness. A pinch of lemon juice can brighten up the flavor, too. If you’re feeling adventurous, try incorporating a mix of cherries and another fruit, like blueberries, for a unique twist!
How should I store my cherry bars?
To keep your easy cherry bars fresh, allow them to cool completely before storing. Place them in an airtight container and store them at room temperature for up to 3 days. If you live in a particularly warm climate, refrigeration might be a better option to prevent them from becoming too soft. Just be aware that colder temperatures can alter the texture slightly, making them a bit firmer.
Can these bars be frozen?
Yes, indeed! Freezing your easy cherry bars is a fantastic way to preserve them for later enjoyment. After they have cooled, slice them into squares and wrap each piece tightly in plastic wrap. Then, place the wrapped bars in a freezer-safe container or bag. They can be stored for up to 3 months. When you’re ready to indulge again, simply let them thaw in the fridge overnight or at room temperature for a few hours.
For additional guidance on freezing desserts, check out resources like The Spruce Eats for tips and tricks!
Conclusion on Easy Cherry Bars
Final Thoughts and Encouragement to Try
In closing, these easy cherry bars are not just a dessert; they are a delightful experience waiting to unfold in your kitchen. Whether you’re celebrating a special occasion or just want to treat yourself, the sweet-tart flavor of cherries paired with a buttery crust is irresistible. Don’t hesitate to experiment a bit—think about adding a sprinkle of nuts or even a dollop of whipped cream on top!
As you whip up this simple recipe, picture yourself sharing your delicious creation with friends or family. Access more dessert inspirations on platforms like Bon Appétit or Food Network. So grab your ingredients and dive into making these cherry bars today!
PrintEasy Cherry Bars: A Sweet and Fruity Dessert Delight to Savor
A delightful recipe for easy cherry bars that is perfect for satisfying your sweet tooth.
- Prep Time: 15 minutes
- Cook Time: 35 minutes
- Total Time: 50 minutes
- Yield: 12 servings 1x
- Category: Desserts
- Method: Baking
- Cuisine: American
Ingredients
- 1 cup all-purpose flour
- 1/2 cup sugar
- 1/2 cup unsalted butter, softened
- 1 can (21 ounces) cherry pie filling
- 1 teaspoon vanilla extract
- 1/4 teaspoon salt
Instructions
- Preheat oven to 350°F (175°C).
- In a mixing bowl, combine flour, sugar, and salt.
- Add the softened butter and vanilla extract, mixing until crumbly.
- Press half of the mixture into a greased baking pan.
- Spread the cherry pie filling over the crust.
- Sprinkle the remaining crumb mixture on top of the cherries.
- Bake for 30-35 minutes or until golden brown.
- Allow to cool before slicing into bars.
Notes
- For a twist, try using different fruit fillings.
- Serve warm with whipped cream for an extra treat.
Nutrition
- Serving Size: 1 bar
- Calories: 200
- Sugar: 12g
- Sodium: 100mg
- Fat: 8g
- Saturated Fat: 5g
- Unsaturated Fat: 1.5g
- Trans Fat: 0g
- Carbohydrates: 30g
- Fiber: 1g
- Protein: 2g
- Cholesterol: 20mg
Keywords: Easy Cherry Bars, dessert recipe, cherry dessert