Introduction to Holiday Cherry Balls
A Festive Treat for Everyone
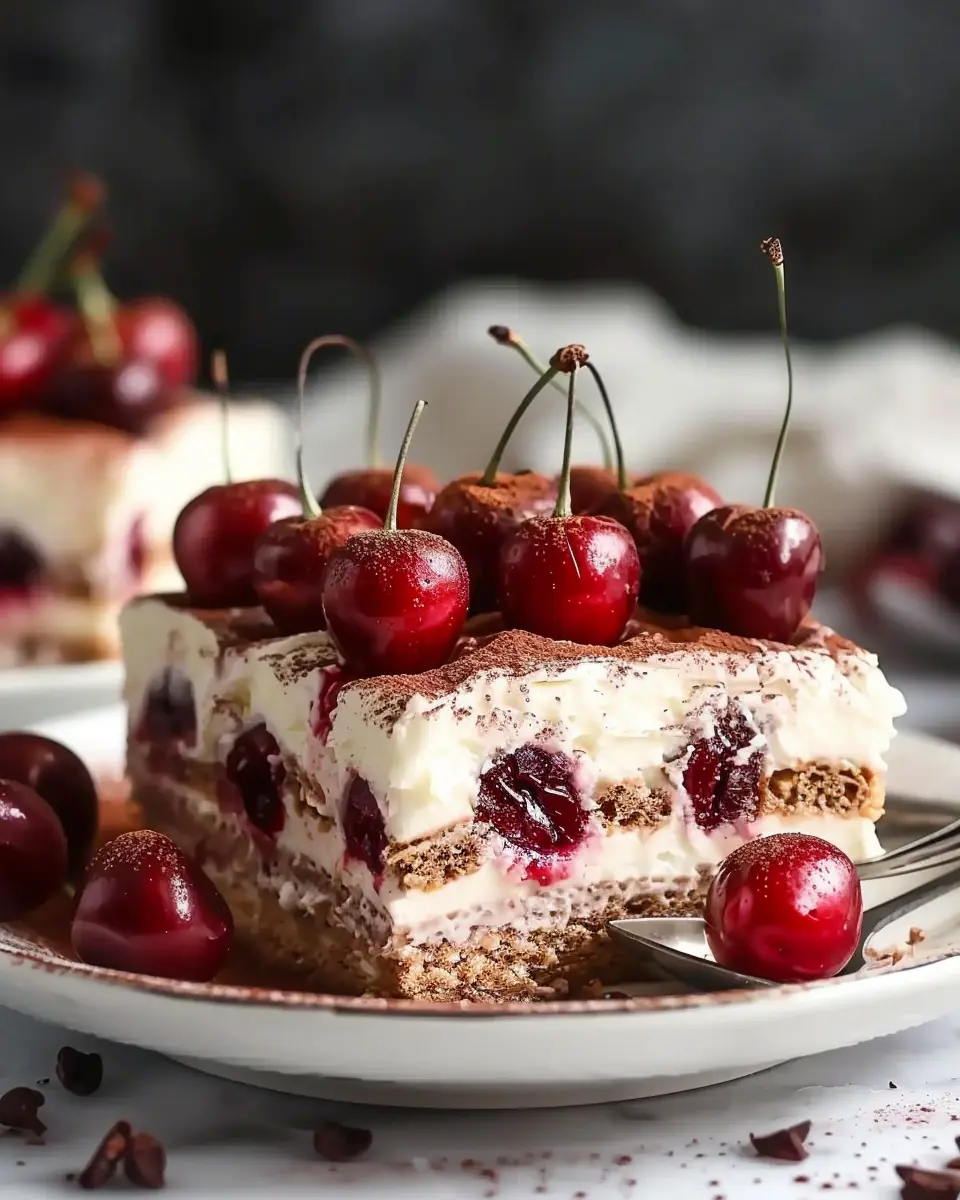
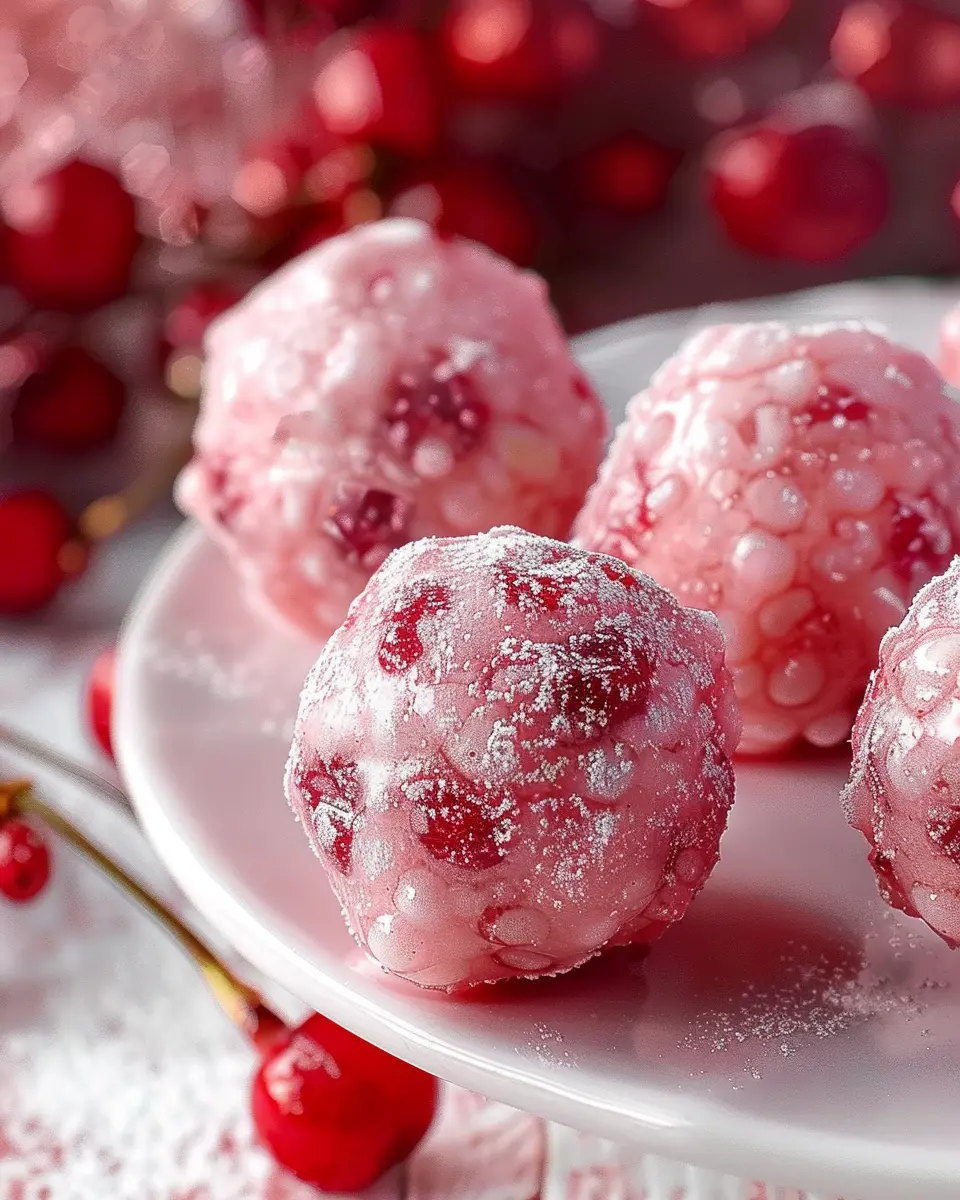
Everyone loves a treat during the holiday season, don’t they? The aroma of freshly baked goods wafting through your home, the vibrant colors of festive decorations — it all adds up to a wonderful experience. One charming addition to your holiday table could be holiday cherry balls. These delightful morsels are not only visually stunning but also pack a punch in terms of flavor and texture. The combination of sweet cherries, creamy fillings, and crunchy coatings creates a harmonious treat that appeals to nearly everyone.
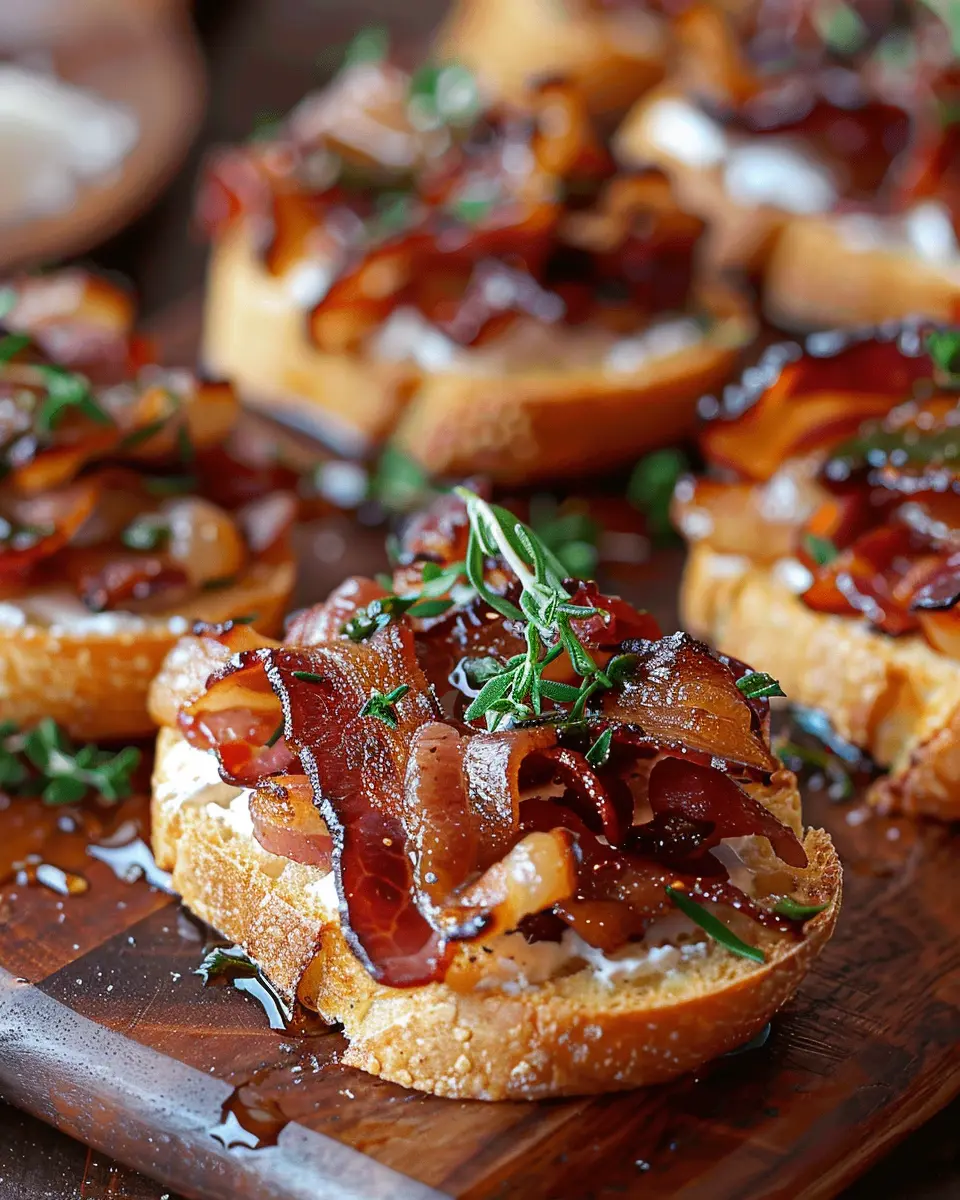
So why choose holiday cherry balls this year? For starters, they’re incredibly versatile. You can easily customize them to suit various dietary preferences, making them perfect whether you are entertaining guests or simply enjoying some quiet time with family. Filled with a delightful cream cheese mixture and wrapped in a savory layer, these treats can include everything from chicken ham to turkey bacon, providing options for both the adventurous eaters and those who prefer more traditional flavors.
With a prep time of just around 30 minutes, these cherry balls are perfect for busy young professionals looking to impress friends without spending hours in the kitchen. Did you know that making your own snacks can not only save money but also be healthier? According to nutrition experts, it’s easier to control the ingredients and create portion sizes that are just right for you.
Moreover, the holiday cherry balls can be made ahead of time, which means you can tackle your holiday preparations without the last-minute stress. Plus, they travel wonderfully, making them an excellent choice for parties or potlucks. Just imagine walking into a gathering with a platter of these festive delights — heads will turn and taste buds will tingle!
If you want to up your game, consider pairing your cherry balls with a refreshing sparkling juice or a homemade dip. With their delightful crunch and burst of flavor, they are bound to become a staple in your holiday celebrations. Ready to dive into the recipe? Let’s turn your kitchen into a festive wonderland!
Ingredients for Holiday Cherry Balls
Creating delicious holiday cherry balls doesn’t have to be complicated. With just a few simple, high-quality ingredients, you’ll be on your way to impressing family and friends with these delightful treats. Here’s what you’ll need:
- Fresh cherries: About 1 pound, washed and pitted. If cherries are out of season, consider using jarred ones in light syrup.
- Cream cheese: 8 ounces, softened. This is crucial for a creamy texture.
- Turkey bacon: 4 slices, cooked and crumbled. This adds a savory crunch that complements the sweetness of the cherries.
- Chicken ham: 4 ounces, finely chopped. The ham adds a delightful saltiness that balances the flavors.
- Chopped walnuts or pecans: 1 cup, for added texture. Nuts bring a nice crunch and a rich taste to the mix.
- Honey or maple syrup: 2 tablespoons. Opt for natural sweeteners for a healthier touch.
- Chives or green onions: A handful, finely chopped, to give a subtle herbaceous quality.
These ingredients come together for a delightful combination of sweet and savory flavors. For more on sourcing fresh ingredients, check out this handy guide on seasonal produce here. Not only are these holiday cherry balls easy to prepare, but they also welcome creativity—experiment with different nuts or spices to make them your own!
Step-by-Step Preparation for Holiday Cherry Balls
When the holiday season rolls around, few treats evoke joy as much as holiday cherry balls. These delightfully festive cookies are sure to bring a smile to your faces and warmth to your gatherings. The process of making these sweet bites isn’t just about the end result; it’s an enjoyable experience filled with delightful scents and memories in the making. Let’s take a closer look at how to prepare them step by step.
Gather Your Ingredients
Before diving into the mixing and kneading, it’s crucial to gather all your ingredients. This not only makes the process smoother but also makes it easier to ensure you haven’t forgotten anything essential.
Here’s what you’ll need:
- 1 cup unsalted butter (softened)
- 1 cup granulated sugar
- 1 cup packed brown sugar
- 3 eggs
- 1 teaspoon vanilla extract
- 4 cups all-purpose flour
- 2 teaspoons baking powder
- 1/2 teaspoon salt
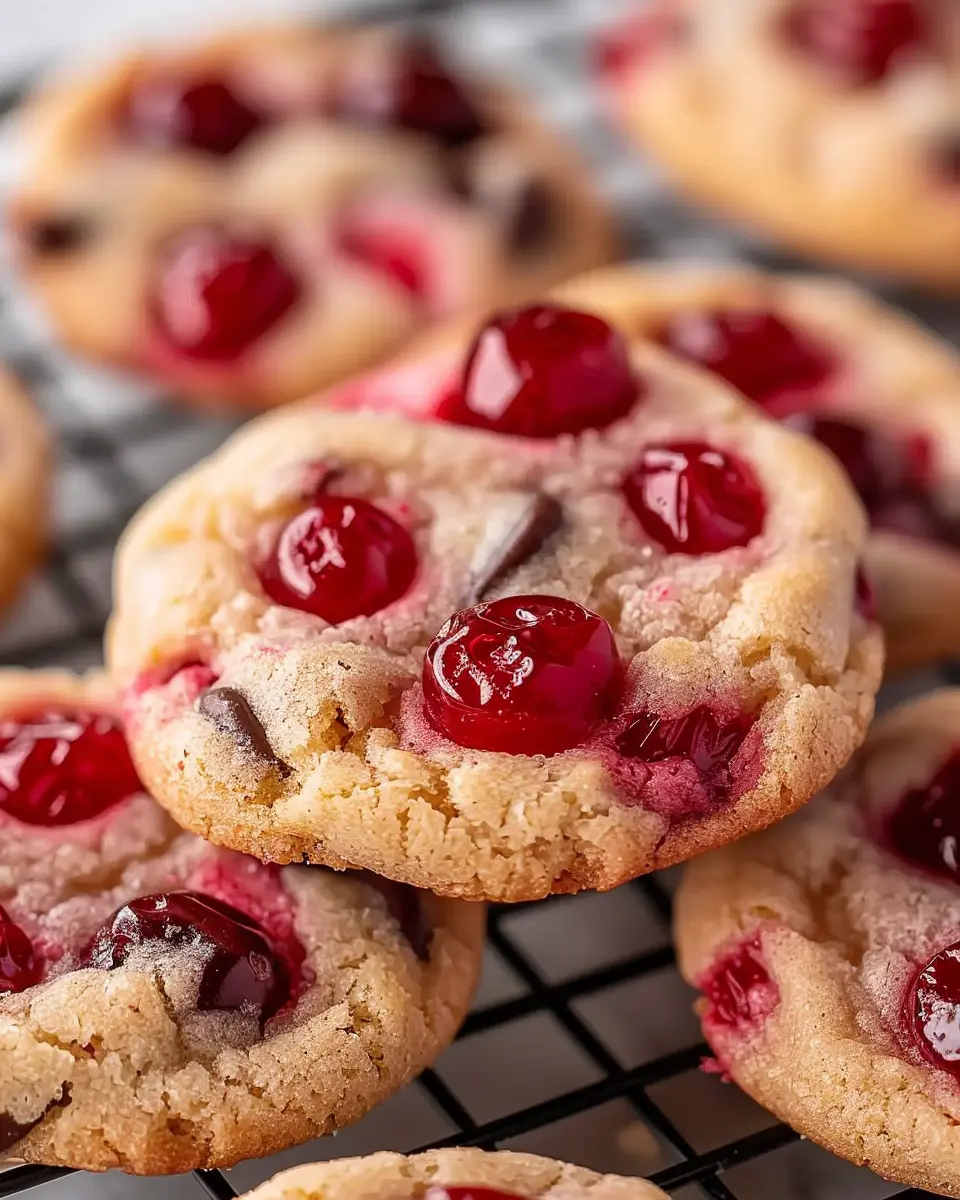
- 1 cup chopped maraschino cherries (drained)
- 1 cup chocolate chips (optional)
Make sure your cherries are chopped finely for the best texture in your holiday cherry balls. This is also a good time to preheat your oven to 350°F (175°C), so it’s ready when your cookie dough is complete.
Mix the Wet Ingredients
Now it’s time to get mixing! In a large mixing bowl, combine your softened unsalted butter, granulated sugar, and brown sugar. Cream these together until they are light and fluffy—this usually takes about 3-4 minutes with an electric mixer. Incorporate the eggs one at a time, followed by the vanilla extract. The mixture should look smooth and creamy when you’re done.
This step is crucial for achieving the perfect texture, as the air incorporated during the creaming will give your holiday cherry balls that delicious soft bite.
Combine the Dry Ingredients
While your wet ingredients are busy looking fabulous, let’s not forget about the dry ones. In a separate mixing bowl, whisk together the flour, baking powder, and salt. Make sure there are no lumps—sifting the flour can help with this!
This separation is vital for ensuring that your dry ingredients are evenly distributed and don’t clump. You’ll want these dry ingredients to meld seamlessly into your beautiful wet mixture.
Create the Cookie Dough
Gradually mix your dry ingredients into the wet mixture. Use a wooden spoon or spatula to fold them together gently. This is where you’ll also incorporate the chopped cherries and chocolate chips, if you’re using them. The dough should start to come together nicely, forming a soft and slightly sticky texture.
Don’t be afraid to get your hands in there! Sometimes the best tool for the job is your own hands—just make sure they’re clean!
Shape and Bake the Cookies
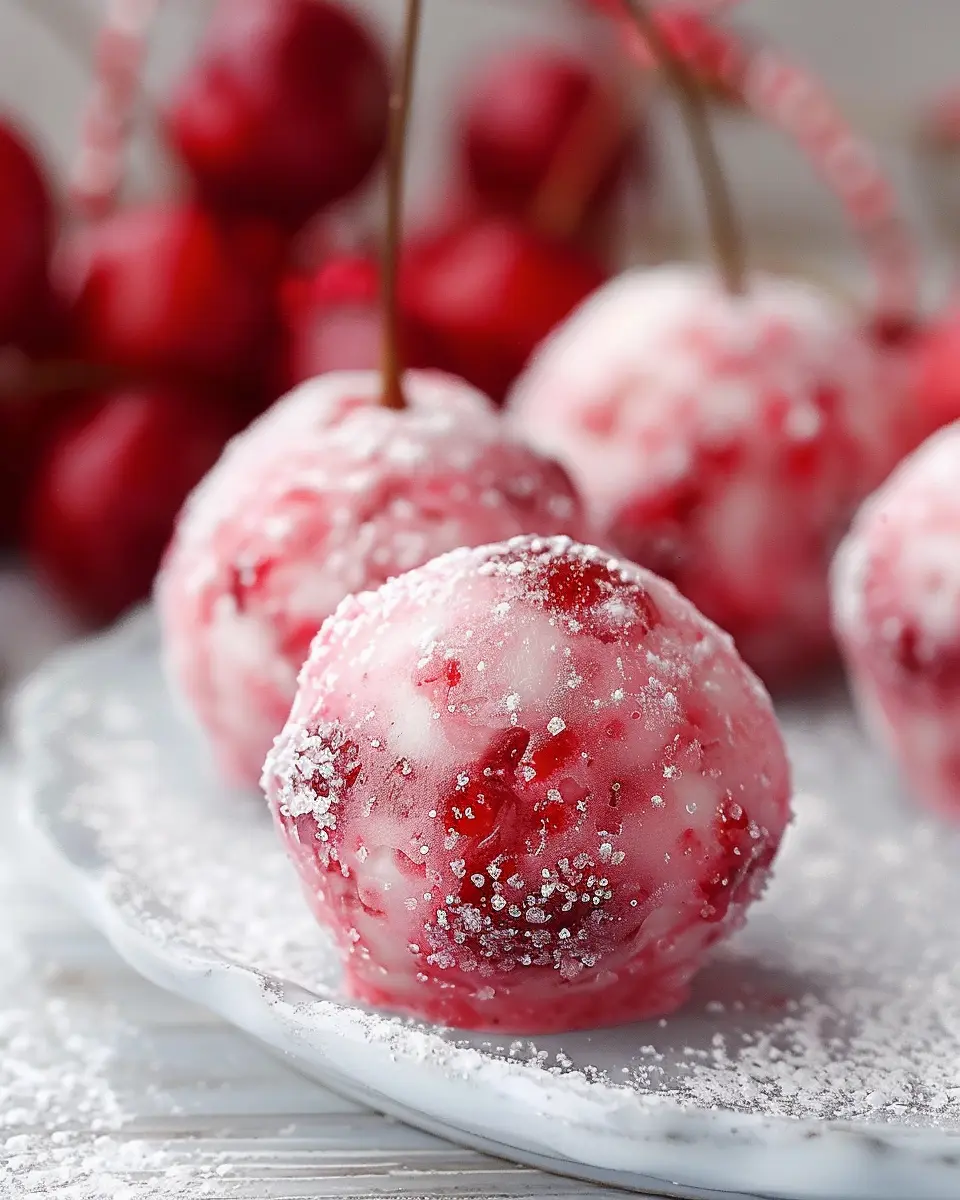
Once your dough is ready, it’s shaping time! Roll the dough into small balls, about one inch in diameter. Place them on a parchment-lined baking sheet, giving each cookie some space to expand during baking. This makes sure your holiday cherry balls have enough room to breathe and bake evenly.
Pop them in the oven and let them bake for about 12-15 minutes or until they turn a lovely golden color. Your kitchen will soon be filled with an irresistible aroma. It’s the sweet scent of the holidays!
Just a tip: Let the cookies cool on the baking sheet for a few minutes before transferring them to a wire rack. This helps maintain their structure while they cool completely.
Creating these holiday cherry balls is not just about enjoying a tasty treat; it’s about forging traditions and sharing them with the ones you love. So gather your friends or family, make some memories in the kitchen, and enjoy every delicious bite of your creations! And don’t forget to consider pairing them with a lovely cup of hot chocolate or milk for that extra touch of holiday spirit. Happy baking!
Variations on Holiday Cherry Balls
As the holiday season approaches, it’s a great time to get creative in the kitchen! When it comes to making holiday cherry balls, there’s more than one way to jazz up this delightful treat. Here are a couple of fun variations that you can try out!
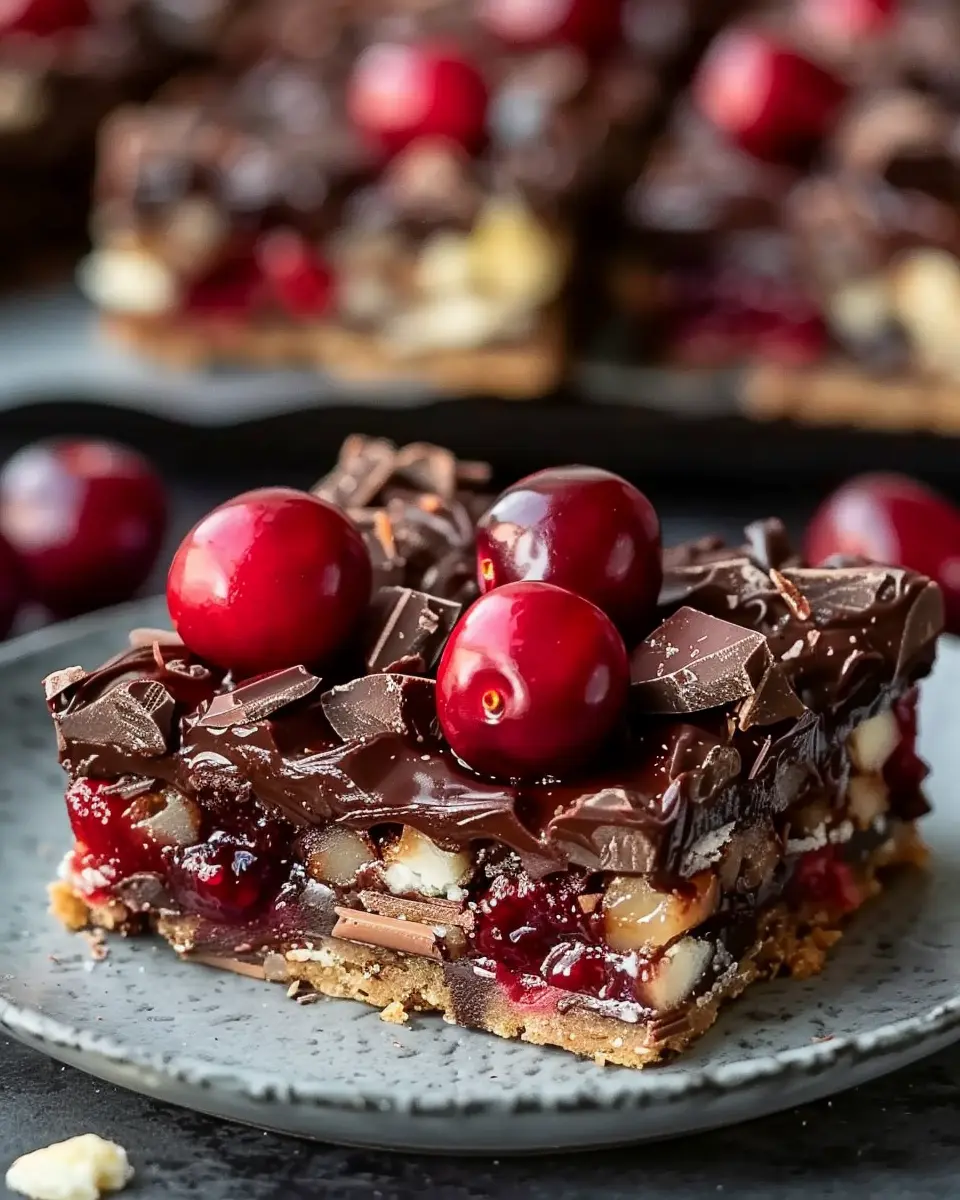
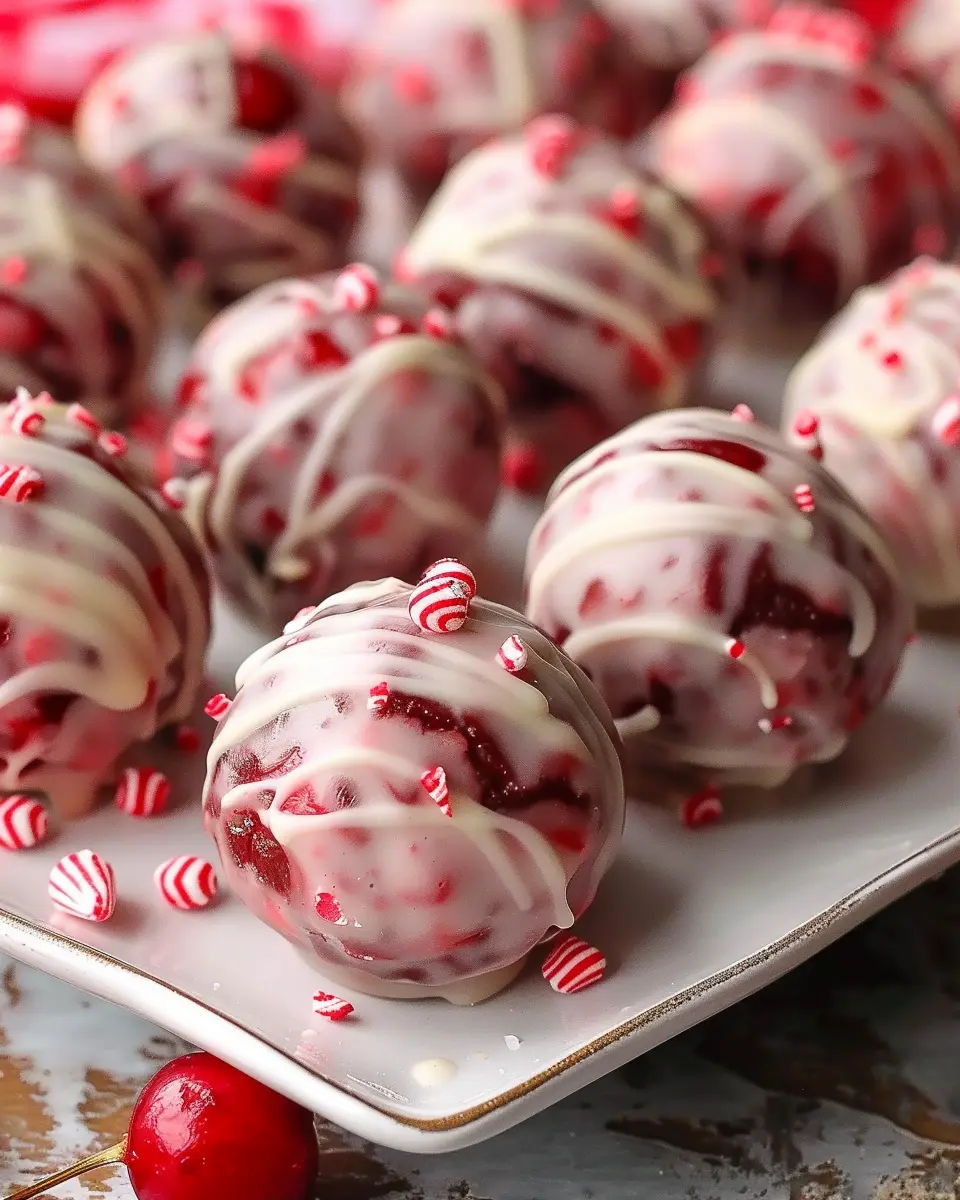
Cherry Balls with Dark Chocolate Drizzle
What could be better than holiday cherry balls? Adding a luscious dark chocolate drizzle, of course! To make this variation, simply prepare your classic cherry balls as usual. Once they are chilled, melt some high-quality dark chocolate and drizzle it over the top.
- Tips for the best drizzle: Use a fork or a piping bag for more control.
- Add a sprinkle of sea salt on top for a sweet-and-salty contrast that’s sure to impress your guests.
The combination of the sweet cherry filling with the rich chocolate is a guaranteed crowd-pleaser!
Nut-Free Cherry Balls
For those with nut allergies or for families looking to accommodate everyone at the table, these nut-free holiday cherry balls are a must-try. Start with a base of crushed cookie crumbs—think vanilla wafers or gluten-free graham crackers.
- Enjoy a burst of flavor by incorporating spices like cinnamon or nutmeg into your mixture.
- Substitutes for nuts: Consider using seeds such as sunflower or pumpkin seeds finely chopped to maintain a nutty texture without the allergy risks.
These variations ensure that your holiday cherry balls can be enjoyed by everyone, no matter their dietary restrictions. Feeling inspired? Discover more fun holiday recipes here that can add flair to your festive celebrations!
Baking Tips and Notes for Holiday Cherry Balls
Baking holiday cherry balls can be an enjoyable yet delicate process. Here are some tips to help ensure your treats turn out perfectly every time.
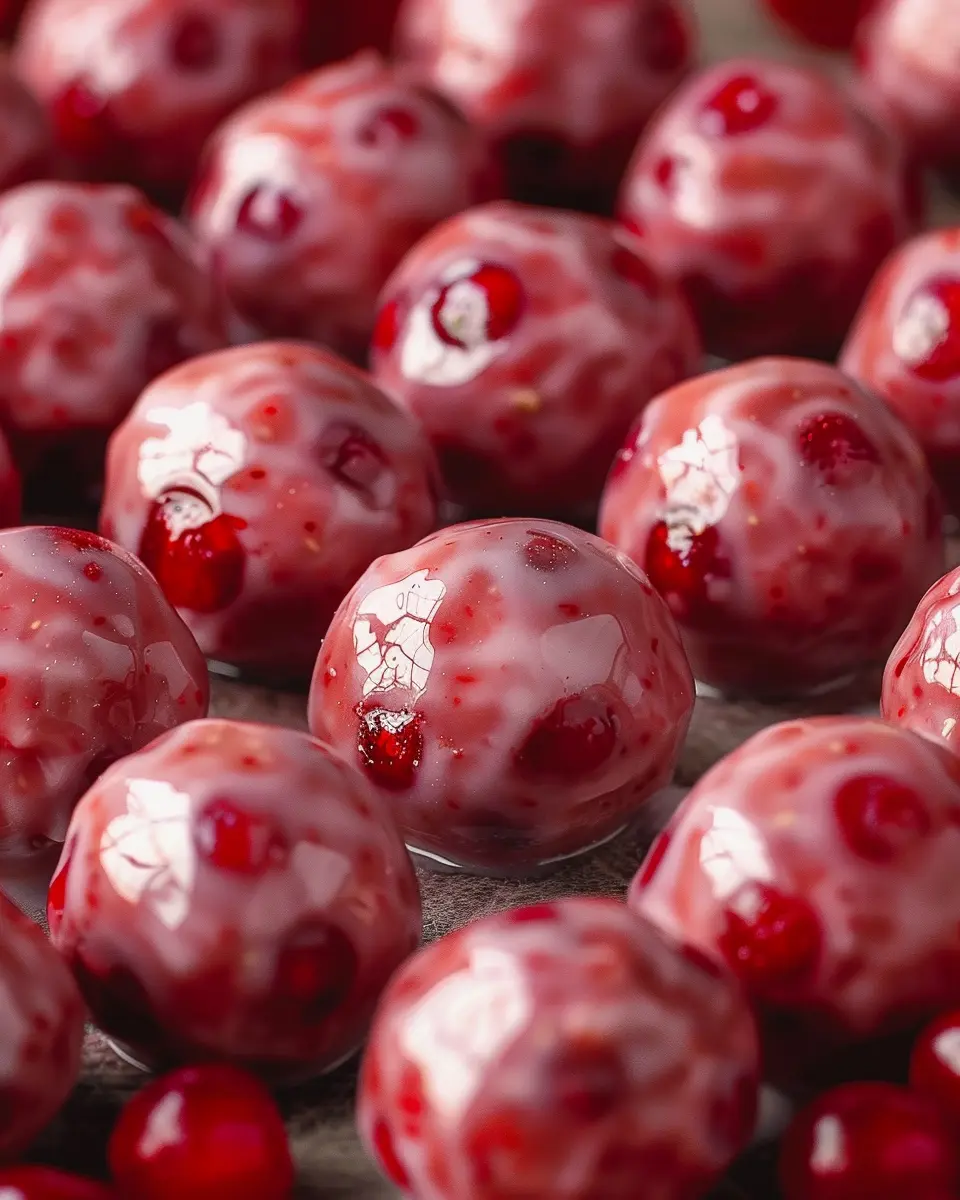
Choose Your Cherries Wisely
Opt for high-quality, maraschino cherries or sweet cherries packed in syrup. These will infuse your dessert with a lovely flavor. If you can, try finding cherries from a local farmers’ market to enhance freshness.
The Importance of Texture
Let your mixture rest before rolling to ensure uniformity. This helps the flavors meld while creating a smoother texture. Roll your balls tightly but not too tightly — they should remain airy.
Experiment with Ingredients
Feel free to swap in alternative fillings or coatings. For a twist, consider using dark chocolate or experimenting with nuts like walnuts or almonds. Certain ingredients like almond extract can elevate the cherry flavor.
Store Properly
To maintain freshness, store your holiday cherry balls in an airtight container in the refrigerator. They’ll last about a week — if they last that long!
For more tips on holiday baking, check out The Kitchn and Serious Eats. Happy baking!
Serving Suggestions for Holiday Cherry Balls
When it comes to showcasing your delightful holiday cherry balls, presentation can elevate your festive gatherings. Here are some creative and approachable ways to serve these yummy treats!
Perfect Pairings
Consider serving your holiday cherry balls with complementary flavors:
- Cheese Board: Arrange your cherry balls alongside creamy cheeses like Brie or tangy goat cheese. The contrast will please your palate.
- Fruit Accents: Fresh fruits like apples or pears bring a refreshing crunch. They also add a vibrant touch to your platter.
Bite-Sized Treats
For a fun twist, turn your holiday cherry balls into bite-sized delights by skewering them with toothpicks. This makes them easy for guests to grab while mingling. You can mix and match them with other finger foods like:
- Turkey bacon-wrapped dates
- Chicken ham slices rolled with cream cheese
Festive Drinks
While enjoying your holiday cherry balls, offer festive beverage options like sparkling cider or a non-alcoholic punch. These drinks bring a celebratory feel to the table and enhance the flavors of your treats.
Elevating the Experience
Don’t forget to add a personal touch. Maybe even share a story about how you discovered this recipe, or the first time you made them. It can turn a delicious snack into a cherished memory! For more on the perfect cheese pairings, check out resources like Food & Wine for expert tips.
With these serving suggestions, your holiday cherry balls are sure to be a hit at any festive gathering!
Time Breakdown for Holiday Cherry Balls
Preparation Time
Getting things started, the prep for your holiday cherry balls takes about 15-20 minutes. Gather your ingredients and tools, such as a mixing bowl, spatula, and measuring cups. It’s always nice to have everything ready before you dive in—trust me, it makes the process smoother.
Baking Time
Since there’s no actual baking involved, you’ll find that preparing holiday cherry balls primarily consists of chilling and rolling. Aim for about 30-60 minutes for this hands-on part. The cooling between steps helps flavors meld beautifully.
Total Time
All in all, you’re looking at around 45 minutes to 1 hour from start to finish. How quick and easy is that? Perfect for busy young professionals like us who want tasty treats without spending the whole day in the kitchen! For more festive inspiration, check out this holiday dessert guide filled with delightful ideas.
Nutritional Facts for Holiday Cherry Balls
Understanding what goes into your holiday cherry balls can make your treats even more enjoyable. Here’s a quick look at their nutritional highlights.
Calories per Cookie
Each holiday cherry ball packs approximately 100 calories, making them a delightful yet guilt-free snack option. It’s always wise to keep portion sizes in mind, especially during the festive season when everything looks delicious.
Sugar Content
With around 8 grams of sugar, these treats offer a sweet bite without going overboard. Using natural sweeteners can help reduce this number, allowing you to savor the delightful flavor while being mindful of your intake.
Carbohydrates
Each cookie contains about 14 grams of carbohydrates. This balance ensures you’re enjoying a treat without compromising your dietary goals. Pair these with a protein-rich snack for a well-rounded eating experience.
For more information on balanced holiday eating, consider checking out the USDA’s Dietary Guidelines. Enjoy the festivities while staying informed about your nutritional choices!
FAQs about Holiday Cherry Balls
Can I use fresh cherries instead of maraschino cherries?
Absolutely! While the classic holiday cherry balls recipe traditionally calls for maraschino cherries for their sweetness and vibrant color, using fresh cherries can add a delightful twist. Just be aware that fresh cherries will have a different texture and flavor profile. You may want to dip them in a simple syrup beforehand to enhance their sweetness and make them more succulent. Plus, fresh cherries are a healthier option. For a helpful guide, check out this article on using fresh versus canned ingredients.
How can I store leftover cherry balls?
If you find yourself with leftovers (which is rare because these treats are so addictive!), you can store your holiday cherry balls in an airtight container. Keep them in the refrigerator, where they will stay fresh for up to one week. For longer storage, consider freezing them before they are chocolate-covered. Just remember to separate each ball with parchment paper to prevent sticking. When you’re ready to enjoy them again, thaw them in the fridge just a few hours before you serve.
What is the best way to decorate my cherry balls?
Getting creative with the decoration of your holiday cherry balls can elevate them from delicious to stunning! Here are a few fun ideas:
- Drizzle with chocolate: After dipping in chocolate, use a fork to drizzle white chocolate over them for a two-tone effect.
- Roll in toppings: Try rolling them in crushed nuts, sprinkles, or shredded coconut for added texture.
- Garnish with mint: A small mint leaf on top can bring a touch of color and freshness.
You can find further decoration ideas on sites like Martha Stewart that can inspire your holiday creativity!
Happy baking, and enjoy those festive flavors!
Conclusion on Holiday Cherry Balls
As we wrap up our delightful journey into the world of holiday cherry balls, it’s clear why these treats are a must-have during festive gatherings. With their perfect blend of sweet and savory flavors, they’re sure to appeal to guests of all ages.
These bite-sized delights not only bring a burst of color to any buffet but also allow for customization—substituting ingredients can easily cater to dietary preferences. Imagine the joy when your friends rave about your creations!
So, why not make these tasty snacks your go-to for upcoming parties? Explore more holiday recipes and get inspired to create memories around the table.
For tips on variations and serving suggestions, check out this article on holiday appetizers. We hope your kitchen fills with love as you craft your holiday cherry balls!
PrintHoliday Cherry Balls: Indulgent Treats for Festive Gatherings
Delight your guests with these delicious Holiday Cherry Balls, perfect for festive gatherings.
- Prep Time: 20 minutes
- Total Time: 1 hour 20 minutes
- Yield: 24 servings 1x
- Category: Dessert
- Method: No-bake
- Cuisine: American
- Diet: Vegetarian
Ingredients
- 1 cup chopped cherries
- 2 cups crushed graham crackers
- 1 cup sweetened condensed milk
- 1 cup chopped nuts
- 1 tsp vanilla extract
- 1 cup shredded coconut
Instructions
- In a mixing bowl, combine chopped cherries, crushed graham crackers, sweetened condensed milk, chopped nuts, and vanilla extract.
- Mix until well combined.
- Form the mixture into small balls and roll each in shredded coconut.
- Place the balls on a baking sheet lined with parchment paper.
- Refrigerate for at least 1 hour before serving.
Notes
- For a variation, try adding a splash of almond extract.
- You can also use different types of nuts based on your preference.
Nutrition
- Serving Size: 1 ball
- Calories: 120
- Sugar: 15g
- Sodium: 50mg
- Fat: 5g
- Saturated Fat: 3g
- Unsaturated Fat: 2g
- Trans Fat: 0g
- Carbohydrates: 18g
- Fiber: 1g
- Protein: 2g
- Cholesterol: 5mg
Keywords: Holiday Cherry Balls, festive treats, cherry dessert